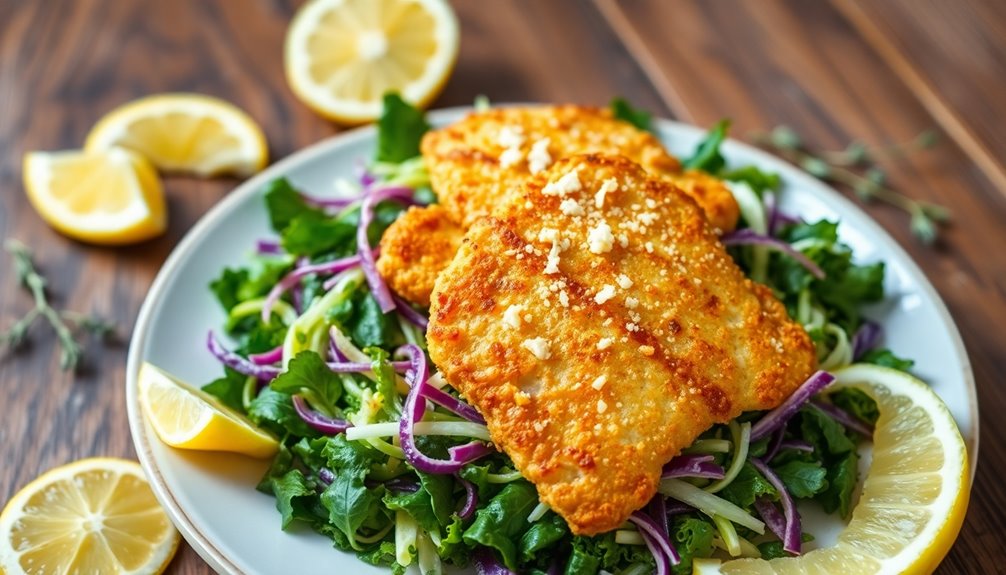

Caesar Slaw with Crispy Chicken is a delicious dish that combines crunchy cabbage and kale with a creamy Greek yogurt dressing. You'll enjoy the golden, crispy chicken cutlets, offering a satisfying protein kick. To make it, you'll fry seasoned chicken cutlets until perfectly crispy and toss the greens with a tangy dressing. This meal is not only flavorful but also a healthier twist on a classic. Stick around to discover more exciting details about this dish!
History

Although many people enjoy Caesar salads today, their origins trace back to the 1920s when Italian immigrant Caesar Cardini created the dish in Tijuana, Mexico.
Cardini crafted this salad with limited ingredients during a busy holiday weekend, featuring romaine lettuce, croutons, parmesan cheese, and a simple dressing made of olive oil, lemon juice, egg, Worcestershire sauce, and garlic. Notably, anchovies weren't part of the original recipe.
Over time, variations emerged, introducing elements like grilled chicken and crispy chicken, enhancing the dish's appeal. The late 20th century saw chefs experimenting with slaw-like bases, further evolving the Caesar experience.
Today, many embrace Greek yogurt in the dressing, making Caesar salads more adaptable to modern dietary preferences while keeping the essence intact. Additionally, the historical context of butter making has influenced many culinary traditions, including the creamy dressings that enhance Caesar salads.

Colonel Jim's Chicken Fry Breading Mix, 5 lb Bag – Southern Style Coating for Crispy Fried Chicken – Professional Restaurant-Quality – Made in USA
Crispy Southern-Style Chicken Breading – Delivers a crunchy, golden coating with classic Southern flavor for fried chicken, tenders,…
As an affiliate, we earn on qualifying purchases.
As an affiliate, we earn on qualifying purchases.
Recipe
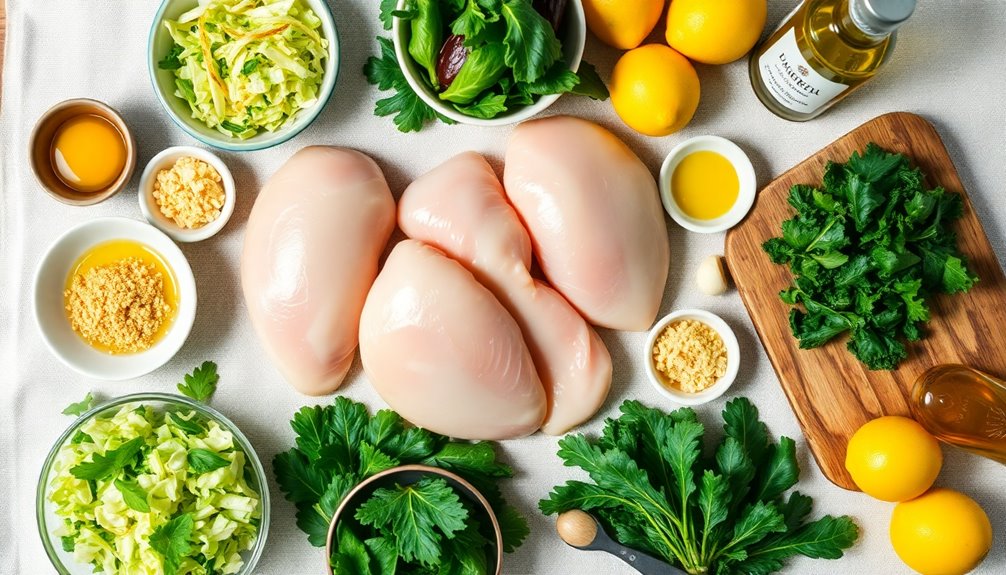
Ingredients:
- 2 cups chopped cabbage
- 2 cups chopped kale
- 2 chicken breasts
- 1 cup breadcrumbs
- 1 egg, beaten
- Salt and pepper, to taste
- Olive oil, for frying
- 1/2 cup Greek yogurt
- 2 cloves garlic, minced
- 1/4 cup parmesan cheese, grated
- 1 tsp mustard
- 1 tbsp vinegar
- 1 tsp anchovy paste
- Juice of 1 lemon
Cooking Instructions:
Begin by preparing the chicken; slice the chicken breasts into cutlet-sized pieces, season with salt and pepper, and set aside.
In one bowl, place the breadcrumbs, and in another bowl, beat the egg. Dip each piece of chicken first into the egg, then coat it thoroughly with breadcrumbs.
In a large skillet, heat olive oil over medium heat and fry the chicken cutlets until golden brown and crispy, about 4-5 minutes on each side.
While the chicken is cooking, combine the Greek yogurt, minced garlic, parmesan cheese, mustard, vinegar, anchovy paste, lemon juice, salt, and pepper in a bowl to create the dressing.
Once the chicken is cooked, toss the chopped cabbage and kale in a large bowl, drizzle with the dressing, and top with the crispy chicken cutlets.
Extra Tips:
Be sure to let the fried chicken rest for a few minutes after cooking to maintain its crispiness before adding it to the salad.
For added crunch, consider incorporating other toppings like croutons or roasted nuts.
If you want a spicier kick, you can add a pinch of cayenne pepper to the dressing.
This dish is also great for meal prep; simply store the slaw and chicken separately to avoid sogginess, and assemble when ready to serve.
For a sweet touch to complement the savory flavors, consider serving it with Dirt Cups for dessert.
Enjoy your delicious Caesar Slaw with Crispy Chicken!

365 By Whole Foods Market, Organic Greek Yogurt Dressing, Avocado Cilantro, 12 Fl Oz
365 by Whole Foods Market products give you that dance-down-the-aisles feeling, virtual aisles too! Our huge range of…
As an affiliate, we earn on qualifying purchases.
As an affiliate, we earn on qualifying purchases.
Cooking Steps

To get started, you'll prepare the chicken cutlets by slicing the chicken breasts and seasoning them well.
Next, coat them in seasoned flour, dip them in the egg wash, and fry until they're a beautiful golden brown.
Once cooked, drain them on paper towels to keep them crispy before you move on to the slaw.
Step 1. Prepare Chicken Cutlets First
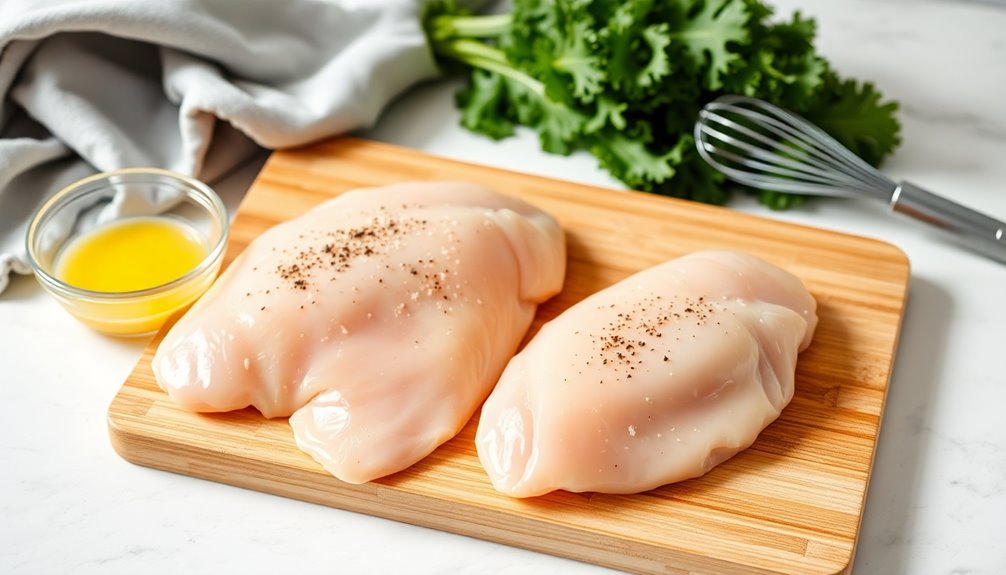
Before diving into the rest of the recipe, you'll want to prepare the chicken cutlets first for that perfect crispy topping.
Start by slicing the chicken breasts lengthwise into thin cutlets, about 1/4 inch thick for even cooking. Season them with salt and pepper, then dip each cutlet in a beaten egg wash to help the breadcrumbs stick.
Next, coat the cutlets in a mixture of panko breadcrumbs and parmesan for added flavor and a crispy texture.
Heat olive oil in a skillet over medium heat and shallow fry the cutlets for 3-4 minutes per side, until they're golden brown and cooked through.
Once done, transfer them to a wire rack and sprinkle with sea salt before serving on top of your Caesar slaw.
Step 2. Coat With Seasoned Flour
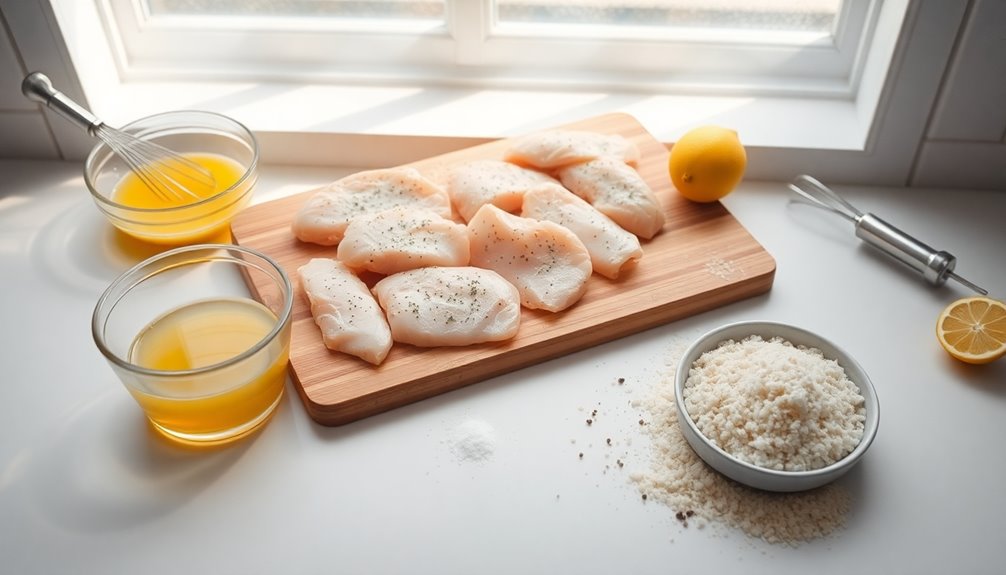
Begin by seasoning all-purpose flour with salt and pepper in a shallow dish, which makes it easy to coat your chicken cutlets evenly.
Take each chicken cutlet and dredge it in the seasoned flour, ensuring you shake off any excess. This step is essential; a light coating helps create a moisture barrier that locks in the juices during cooking, ensuring your Crispy Chicken is tender and juicy inside.
The seasoned flour also acts as the perfect base for the next layer of flavor. Once coated, you'll be ready to dip the cutlets in egg wash before moving on to the panko breadcrumbs for that final crispy texture.
Enjoy the process and get ready for delicious results!
Step 3. Dip in Egg Wash

Once your chicken cutlets are nicely coated in the seasoned flour, it's time to enhance their flavor and texture with the egg wash.
In a large bowl, beat the eggs and add a pinch of salt to boost the flavor and help the breadcrumbs stick better.
Carefully dip each seasoned chicken cutlet into the egg wash, ensuring it's fully coated for ideal breading. Let any excess egg drip off before moving the cutlets to the breadcrumb mixture.
This step is vital for achieving crispy chicken cutlets. If you have time, marinate the chicken in the egg wash for at least 15 minutes to really lock in that moisture and flavor before you proceed to the next cooking step.
Step 4. Fry Until Golden Brown

Heat olive oil in a skillet over medium heat, creating the perfect environment for frying your chicken cutlets.
Once the oil is hot, carefully place the seasoned chicken cutlets in the frying pan. Cook them for about 3-4 minutes on each side until they're golden brown and cooked through.
Avoid overcrowding the pan; it helps maintain the oil temperature and guarantees a crispy texture. If you have more cutlets, fry them in batches.
When the chicken is done, transfer it to a wire rack to drain excess oil while keeping the crispy texture intact.
For an extra flavor boost, sprinkle sea salt over the hot chicken immediately after cooking.
Enjoy your perfectly fried cutlets!
Step 5. Drain on Paper Towels

After frying the chicken cutlets, you'll want to transfer them to a plate lined with paper towels. This step helps drain excess oil and allows the crispy chicken to maintain its crunch.
For ideal results, place the cutlets on a wire rack first to let oil drip off, then move them to the paper towels. Make sure you don't overcrowd the cutlets; this guarantees proper drainage and prevents steaming.
Allow the chicken to rest for a few minutes on the towels so they can absorb any residual oil. Finally, discard the paper towels after use to avoid any lingering grease on your crispy chicken before serving.
Enjoy your perfectly fried cutlets!
Mixing Bowls with Lids Set, 27Pcs Stainless Steel Nesting Mixing Bowls Set for Kitchen Cooking & Storage, Metal Salad Bowls with Colander, Strainer, Grater & Dressing Containers, Kitchen Gadgets Black
【Premium Stainless Steel Mixing Bowl Set】: Our mixing bowls with lids set are Made of food-grade stainless steel,…
As an affiliate, we earn on qualifying purchases.
As an affiliate, we earn on qualifying purchases.
Final Thoughts
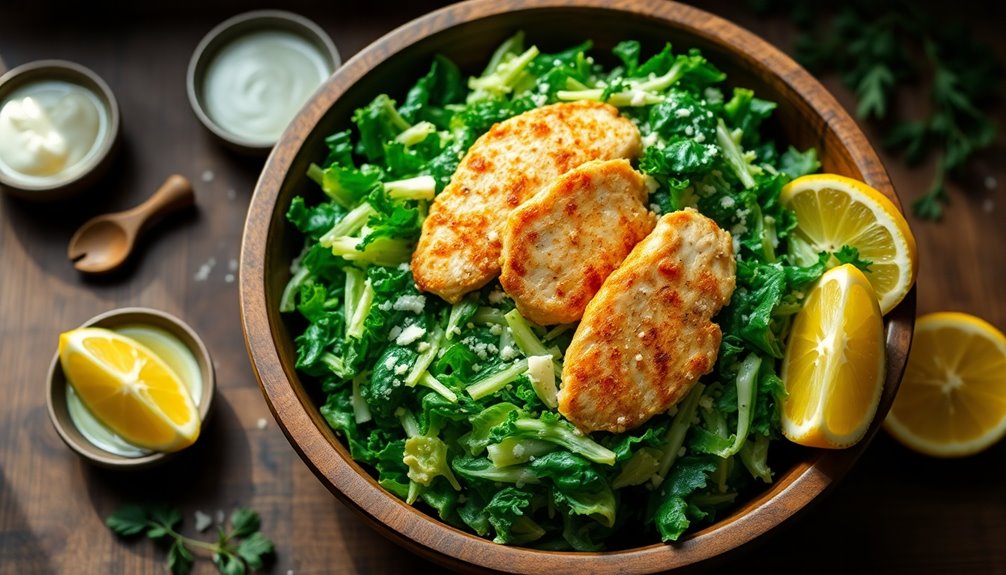
While trying out the Caesar Slaw with Crispy Chicken, you'll discover a delightful balance of textures and flavors that elevate your meal.
The combination of crunchy cabbage and kale, paired with the creamy Greek yogurt Caesar dressing, offers a healthier twist on the classic dish. The crispy chicken cutlets not only add protein but also provide that satisfying crunch.
This dish shines in versatility, serving as an excellent main course or flavorful slaw for sandwiches. Plus, it's perfect for meal prep—everything stays fresh for days, making leftovers a breeze. Fermentation enhances nutritional value making this dish not only delicious but also beneficial for your gut health.
Whether you stick to the original recipe or adapt it with pre-cooked chicken, you're in for a delicious treat that keeps your weeknight dinners exciting.

Just Bare® Chicken Lightly Breaded Chicken Breast Fillets| Fully Cooked | 16 G Protein | Frozen | 1.5 LB
No antibiotics ever
As an affiliate, we earn on qualifying purchases.
As an affiliate, we earn on qualifying purchases.
Frequently Asked Questions
Can I Substitute the Chicken With a Plant-Based Option?
Absolutely, you can substitute chicken with a plant-based option! Options like grilled tofu, tempeh, or chickpeas work great.
They'll add protein and texture to your dish while keeping it delicious. Just make sure to season them well to enhance the flavors.
If you're looking for something crispy, you might even try using a plant-based chicken substitute. It'll give you that satisfying crunch without the meat.
Enjoy your meal!
What Are the Best Side Dishes to Pair With Caesar Slaw?
When you're looking for the best side dishes to pair with Caesar slaw, consider options that complement its crisp, tangy flavor.
Roasted vegetables, like Brussels sprouts or carrots, add a nice touch. You could also serve warm garlic bread for a comforting contrast.
A light quinoa salad can enhance the meal's freshness.
Don't forget about grilled shrimp or salmon, which bring a delicious protein element that matches well with the slaw.
How Long Can I Store Leftover Caesar Slaw?
Imagine a fresh garden, vibrant and alive, yet knowing it won't last forever.
You can store leftover Caesar slaw in an airtight container in the fridge for about 3 to 5 days. After that, the crispness fades, much like the garden's blooms wilting away.
Just remember to check for any off smells or discoloration before eating. Enjoy it while it's still fresh, and savor every crunchy bite you can!
Can I Make the Slaw in Advance?
Yes, you can make the slaw in advance! Just prepare the vegetables and mix them with the dressing, but don't toss them together until you're ready to serve.
This keeps the veggies crisp and fresh. You can store the slaw in an airtight container in the fridge for up to a day or two.
If you want, you can add toppings right before serving for extra crunch and flavor!
What Are Some Variations to Add to This Recipe?
You can jazz up your slaw in delightful ways!
Try adding some zesty diced apples or sweet raisins for a fruity twist.
If you're feeling adventurous, toss in some crunchy nuts or seeds for extra texture.
A sprinkle of feta cheese brings a creamy touch, while a dash of spicy jalapeños can wake things up.
Don't hesitate to experiment with different dressings to find your perfect flavor harmony!