
You can whip up a delicious Chocolate Cream Pie with Vanilla Whipped Cream using a buttery Oreo crust filled with rich chocolate pudding. Combine bittersweet chocolate, sugar, and a creamy milk mixture, then fold in egg yolks and vanilla for deeper flavor. After chilling, top it all off with fluffy whipped cream and maybe some chocolate shavings. It's a showstopper for any occasion! Stick around to discover more tips for the perfect pie experience.
History

Chocolate cream pie has a rich history that dates back to the early 19th century, when chocolate desserts started gaining popularity in America thanks to new chocolate manufacturing processes.
The first known recipes for chocolate cream pies appeared in late 1800s cookbooks, featuring a delightful combination of chocolate pudding filling and crumb crust.
By the mid-20th century, this classic American dessert became a staple at family gatherings and holiday celebrations, adored by chocolate lovers everywhere.
As culinary trends evolved, variations of chocolate cream pie emerged, showcasing different crusts like graham cracker or Oreo.
Today, you can savor its indulgent flavor and rich creamy filling in bakeries and restaurants, making it a beloved part of American cuisine.
Recipe
Ingredients:
- 1 package of Oreo cookies (about 24 cookies)
- 5 tablespoons unsalted butter, melted
- 1 ½ cups heavy cream
- 8 ounces bittersweet chocolate, chopped
- ½ cup granulated sugar
- 2 tablespoons cornstarch
- 4 large egg yolks
- 1 teaspoon vanilla extract
- Additional heavy cream for topping
- Optional: chocolate shavings or curls for garnish
Instructions:
Begin by preheating your oven to 350°F (175°C).
In a food processor, crush the Oreo cookies until they resemble fine crumbs. Mix the crumbs with the melted butter until combined, then press the mixture firmly into the bottom and up the sides of a 9-inch pie pan.
Bake the crust for 10-12 minutes, then remove from the oven and let it cool completely.
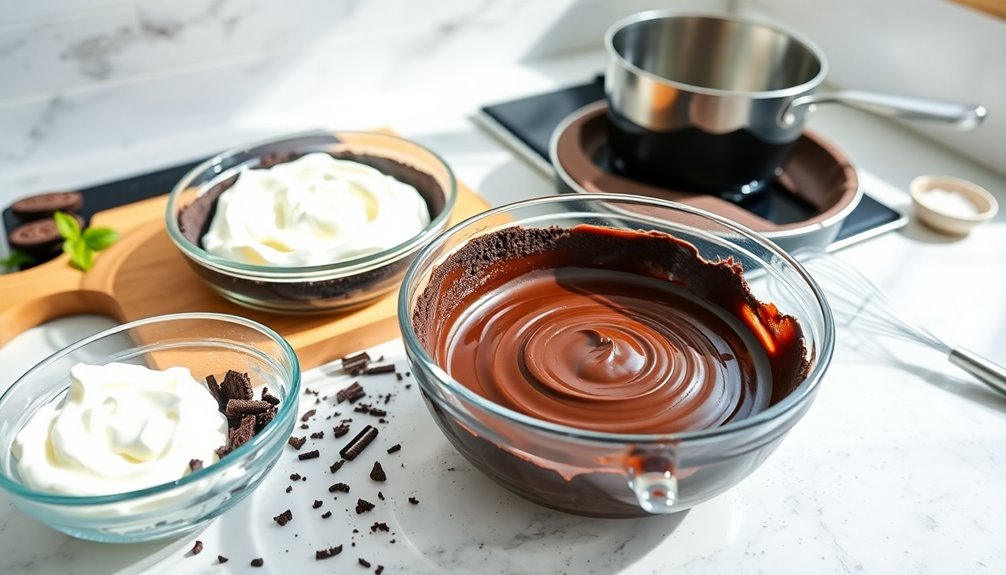
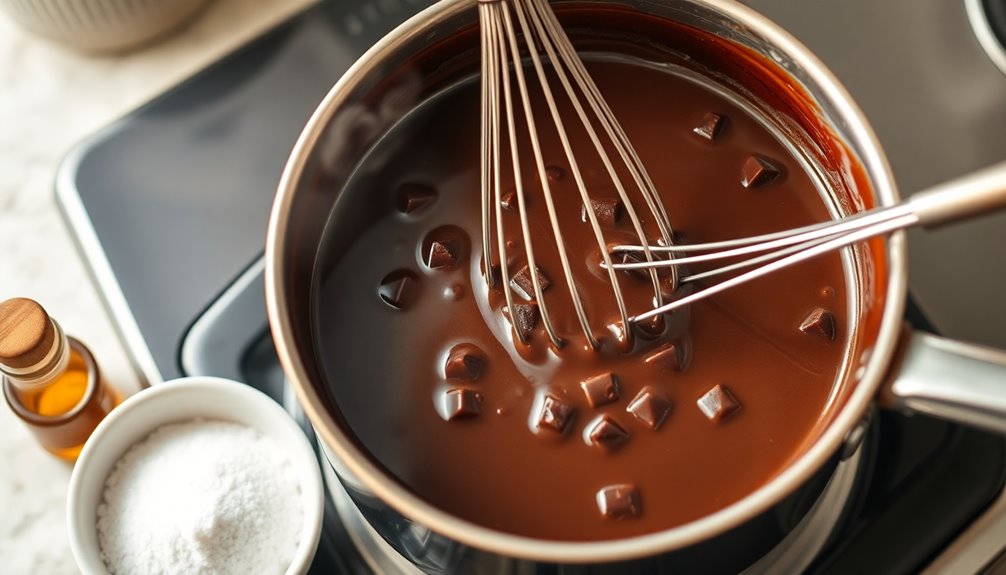
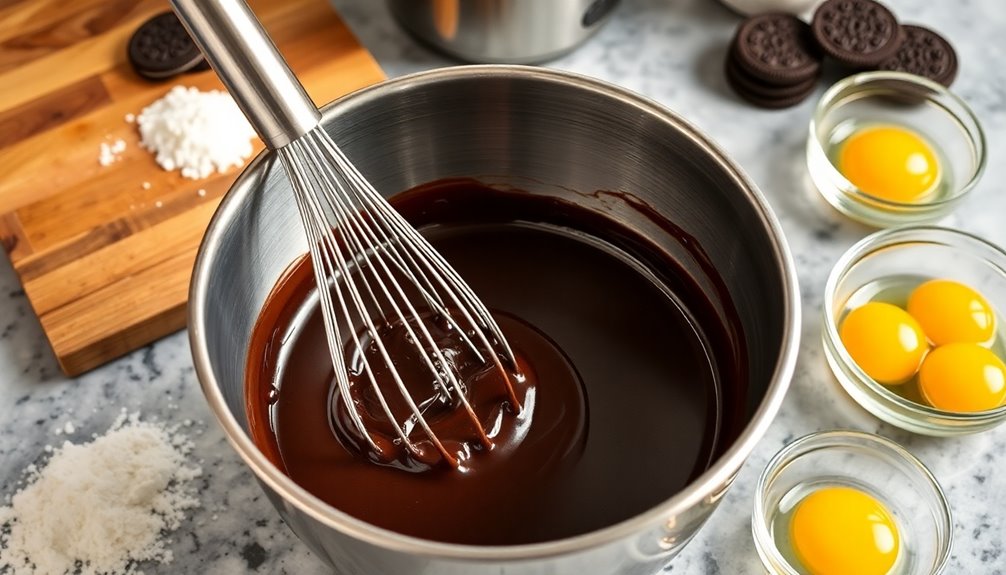
In a medium saucepan, combine the heavy cream, chopped bittersweet chocolate, and vanilla over medium heat, stirring until the chocolate is melted and the mixture is smooth.
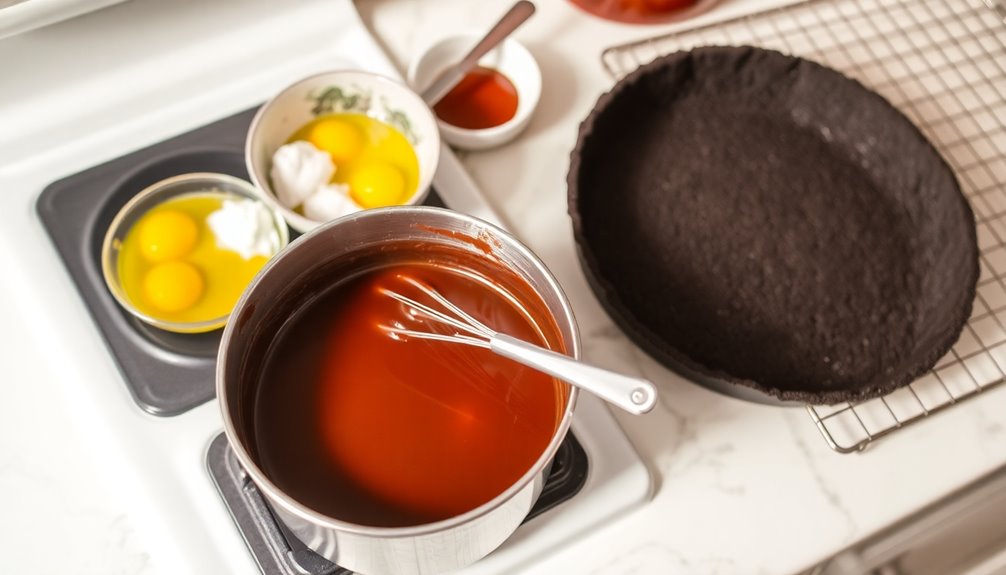
In a separate bowl, whisk together the sugar, cornstarch, and egg yolks.
Slowly pour the warm chocolate mixture into the egg mixture while whisking constantly to temper the eggs.
Return this mixture to the saucepan and cook over medium heat until thickened.
Pour the chocolate filling into the cooled crust and refrigerate for at least 4-6 hours, or overnight, until set.
Before serving, whip additional heavy cream with a bit of sugar until soft peaks form and spread it over the pie.
Optionally, garnish with chocolate shavings or curls for an elegant finish.
Extra Tips:
To achieve the best flavor and texture in your Chocolate Cream Pie, use high-quality bittersweet chocolate. This will amplify the chocolate flavor and provide a richer experience.
Additionally, be patient with the chilling process; allowing the pie to rest overnight yields the best results.
If you prefer a sweeter topping, adjust the amount of sugar in the whipped cream according to your taste.
Finally, for a fun twist, try adding a pinch of sea salt to the chocolate filling for a delightful contrast against the sweetness!
Cooking Steps
To make your chocolate cream pie, start with the pie crust by mixing crushed Oreos and melted butter.
Next, combine the chocolate and sugar, whisk in the milk mixture, and add the eggs and vanilla extract.
Once you've completed these steps, chill the pie until it sets for a delicious finish.
Step 1. Prepare the Pie Crust
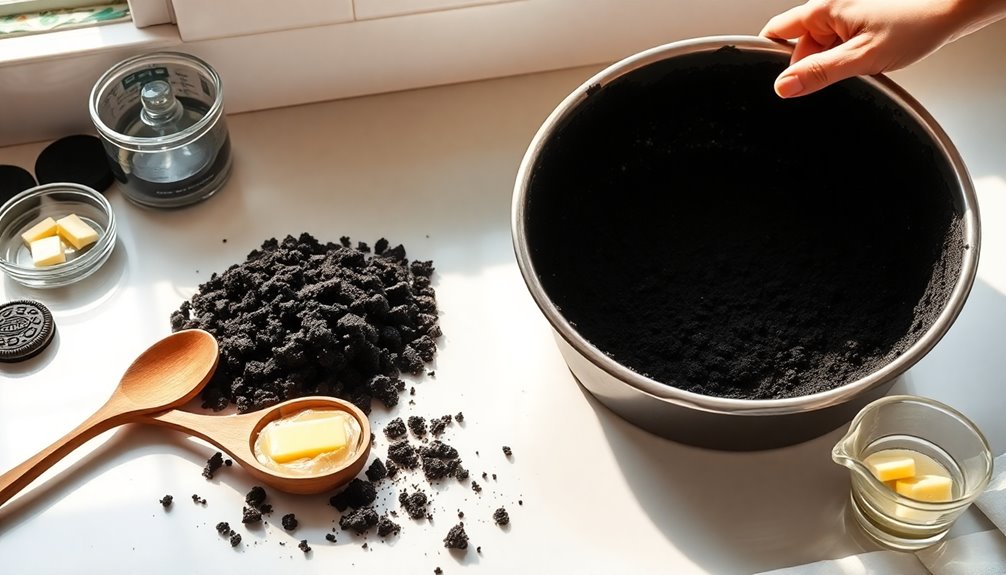
Start by combining crushed graham crackers or Oreo cookies with melted butter in a bowl. Press the mixture into a 9-inch pie dish to form an even layer.
To guarantee a great pie crust, dock the bottom with a fork to allow steam to escape and prevent puffing. Then, bake it in a preheated oven at 350 degrees F for 10-12 minutes until it's lightly golden.
After baking, let the crust cool completely before adding the filling.
If you prefer a homemade crust, mix flour, sugar, and salt, cut in chilled butter, and gradually add ice water. Refrigerate for at least an hour before rolling out to avoid a soggy bottom when you fill it with chocolate pudding.
Step 2. Combine Chocolate and Sugar
As you prepare the chocolate pudding, whisk together 3/4 cup of sugar and 6 tablespoons of cornstarch in a bowl, creating a uniform mixture that will help thicken your dessert.
In a saucepan, combine this sugar-cornstarch mixture with 2 1/2 cups of whole milk and 8 ounces of chopped chocolate. Heat the mixture over medium heat, stirring constantly until it simmers and thickens to a pudding-like consistency.
Once thickened, remove it from heat and let it cool slightly. Gradually mix in the beaten egg yolks, adding the hot mixture slowly to prevent cooking the eggs.
Return the combined mixture to heat for another 5 minutes, then pour it into your prebaked pie shell to chill before adding whipped cream and vanilla.
Step 3. Whisk in Milk Mixture
Whisking in the milk mixture is essential for achieving a smooth and creamy chocolate pudding.
Start by whisking together the sugar, cornstarch, and cocoa powder in a small bowl to guarantee even distribution.
In a saucepan, heat the heavy cream, milk, and salt until it's just bubbling—don't let it boil over.
Gradually add your whisked sugar mixture to the hot milk while constantly whisking to prevent lumps and create a smooth pudding base.
Once the mixture reaches a boil, keep whisking vigorously for about 1-2 minutes to thicken the pudding.
After it thickens, remove the saucepan from heat and whisk in the melted chocolate and vanilla extract until fully incorporated.
This creates your rich chocolate filling, ready for the pie!
Step 4. Add Eggs and Vanilla Extract
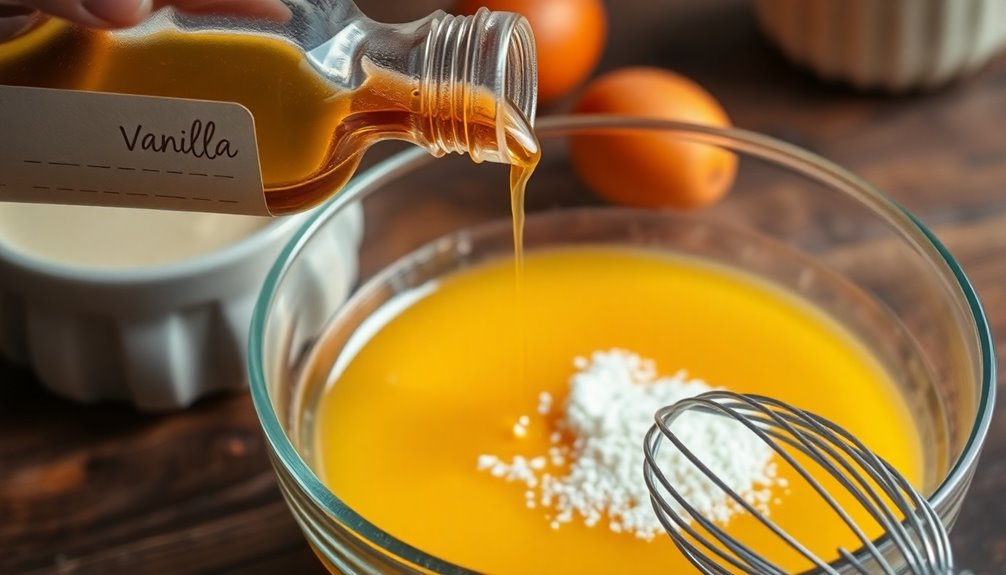
To create a rich and creamy chocolate filling, you'll need to add the egg yolks to the mixture.
First, whisk together the egg yolks, sugar, cornstarch, and a pinch of salt to form a rich base.
Gradually temper the egg yolks by adding a portion of the hot milk mixture while whisking, which prevents the eggs from scrambling.
Once combined, return the egg mixture to the saucepan and cook over medium heat.
Stir continuously until the pudding thickens and begins to bubble, usually about 5-7 minutes.
Finally, stir in 1 teaspoon of vanilla extract to enhance the flavor.
This process will help you make the chocolate pudding thick and delicious, perfect for your pie.
Step 5. Chill Until Set
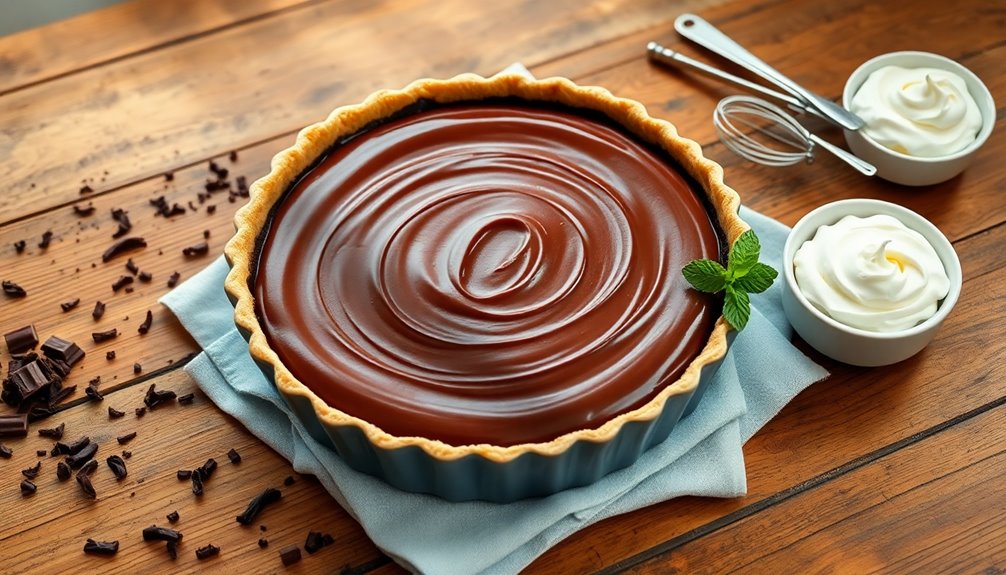
Once you've poured the rich chocolate pudding into the cooled pie crust, it's essential to smooth the top with a rubber spatula for an even finish.
Next, cover the pie with plastic wrap or aluminum foil to prevent it from absorbing any odors while it chills. Refrigerate the pie for at least 4 to 6 hours, though overnight is ideal for the filling to set properly and achieve that creamy texture.
After the chilling time, it's important to verify the pie is completely chilled before serving, as this helps maintain its structure when slicing.
Just before serving, top your chilled pie with freshly whipped cream and optional chocolate shavings for a delightful presentation that enhances your chocolate cream pie.
Final Thoughts
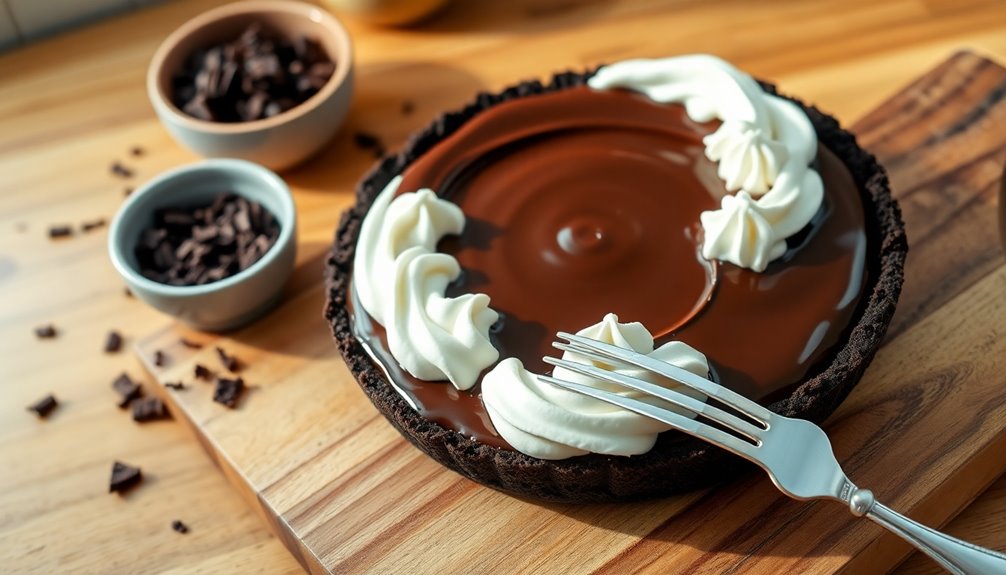
Although you might be tempted to rush through the final steps of your chocolate cream pie, taking the time to perfect the whipped cream and presentation will elevate your dessert.
Start by whipping heavy whipping cream to a thick consistency, adding powdered sugar and vanilla extract to suit your personal taste preferences. This Vanilla Whipped Cream will provide a light and airy finish, making your pie irresistible.
Don't forget to refrigerate any leftover whipped cream and re-whip it briefly before serving to restore its texture.
For an elegant presentation, generously layer the whipped cream on top and sprinkle chocolate shavings for a delightful touch.
Your Chocolate Cream Pie won't only taste amazing but will also impress anyone lucky enough to try it!
Frequently Asked Questions
Can I Use Store-Bought Crust for This Pie?
When it comes to baking, convenience can be your best friend.
Yes, you can absolutely use a store-bought crust for your pie! It saves you time and still delivers a delicious result. Just make sure to follow the instructions on the package for baking and cooling.
After that, fill it with your favorite filling, and you'll have a delightful dessert that impresses without all the fuss.
Enjoy your effortless creation!
How Can I Make This Pie Gluten-Free?
To make your pie gluten-free, start by using a gluten-free pie crust. You can find pre-made options at stores or make your own using gluten-free flour blends, almond flour, or crushed gluten-free cookies.
Verify all your filling ingredients, like cornstarch and cocoa powder, are certified gluten-free. When you bake, monitor the pie closely, as gluten-free crusts can bake differently.
Enjoy your delicious, gluten-free creation with confidence!
What Other Flavors Pair Well With Chocolate Cream Pie?
Imagine the rich, velvety chocolate dancing with a splash of zesty orange or the bright notes of fresh raspberry.
These flavors create a delightful contrast, enhancing the chocolate's depth. You might also consider adding a sprinkle of sea salt for a savory kick or a hint of mint for a rejuvenating twist.
Each pairing brings its own personality, transforming your dessert into an unforgettable experience that tantalizes your taste buds and delights your senses.
How Long Can I Store the Pie in the Fridge?
You can store the pie in the fridge for about 3 to 4 days.
Make sure to cover it with plastic wrap or aluminum foil to keep it fresh.
If it's been sitting out for longer than two hours, it's best to toss it to avoid any food safety issues.
Enjoy it while it's fresh, but if you need to save some, just keep it properly wrapped in the fridge.
Can I Freeze Chocolate Cream Pie for Later Use?
Yes, you can freeze chocolate cream pie for later use!
Just wrap it tightly in plastic wrap or aluminum foil to prevent freezer burn.
It's best to freeze it without any toppings, like whipped cream, as they don't freeze well.
When you're ready to enjoy it, transfer the pie to the fridge to thaw overnight.
This way, you'll maintain the texture and flavor.
Enjoy your delicious treat whenever you want!