
The salted chewy gooey chocolate chip skillet cookie is your go-to dessert for a perfect blend of crispy edges and a soft, warm center. Made with melted butter, sugars, and a mix of flour and chocolate chips, this cookie is baked in a skillet for that delightful golden crust. Serve it warm with vanilla ice cream, and you'll have a treat everyone loves. Ready to learn how to whip up this indulgence at home?
History
The history of the chocolate chip skillet cookie traces back to a delicious concept that began with a peanut butter version, which was famously served as a sundae.
This idea paved the way for the skillet cookie we adore today. As a modern adaptation of salted chocolate chip cookie bars, it's designed to be served warm, directly from the skillet.
The unique texture—combining a crumbly, chewy, and gooey center—makes it irresistible to chocolate lovers. Often referred to as a "pizookie," this dessert thrives on communal sharing, making it a fun experience for friends and family.
Over time, numerous variations have emerged, reflecting the growing trend toward casual, shareable desserts that cater to diverse tastes.

Heart Health Essential Omega III Fish Oil with Vitamin E – High EPA & DHA for Heart, Triglyceride & Blood Flow Support, Lemon Oil, Gluten-Free, Non-GMO, 60 Servings
- Cardio Support with Omega-3s: Supports heart health and blood flow
- Pure Small-Fish Source: Sourced from sardines and anchovies
- Quality Tested & Safe: Third-party tested for purity and potency
As an affiliate, we earn on qualifying purchases.
Recipe
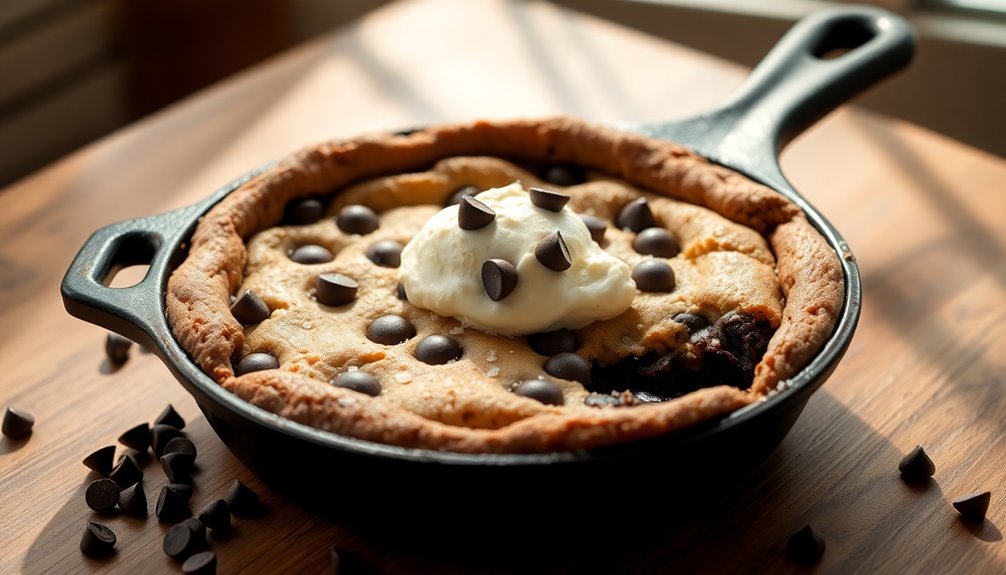
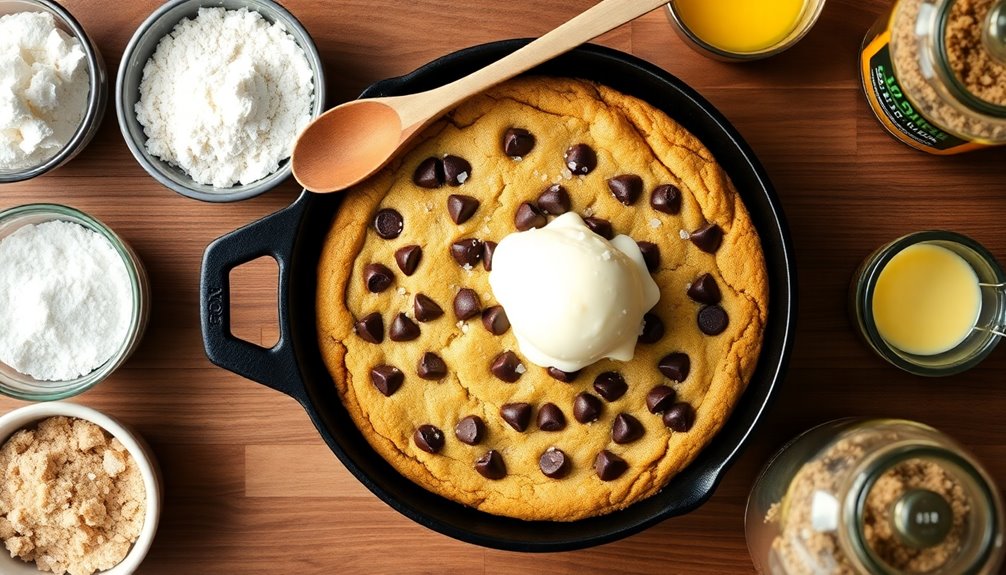
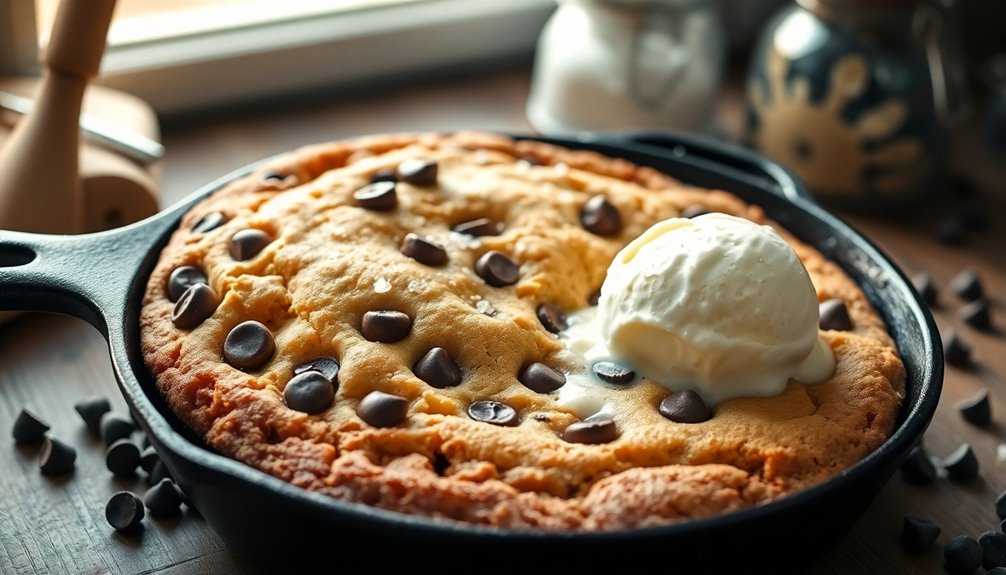
Indulge in the warm, gooey delight of a Chocolate Chip Skillet Cookie, a decadent dessert that brings the classic cookie experience to a whole new level. This recipe combines the rich flavors of melted butter and sugars with a hint of vanilla, resulting in a cookie that's crispy on the edges and soft in the center. Perfect for sharing—or enjoying all by yourself—this skillet cookie is best served warm, ideally topped with a scoop of vanilla ice cream that melts into the chocolatey goodness.
Baking this delicious treat in a cast iron skillet not only adds a rustic charm but also guarantees even cooking and a lovely golden crust. The dish comes together quickly, making it a great option for spontaneous gatherings or a cozy night in. Follow the simple steps below to whip up your very own Chocolate Chip Skillet Cookie that will leave everyone asking for seconds.
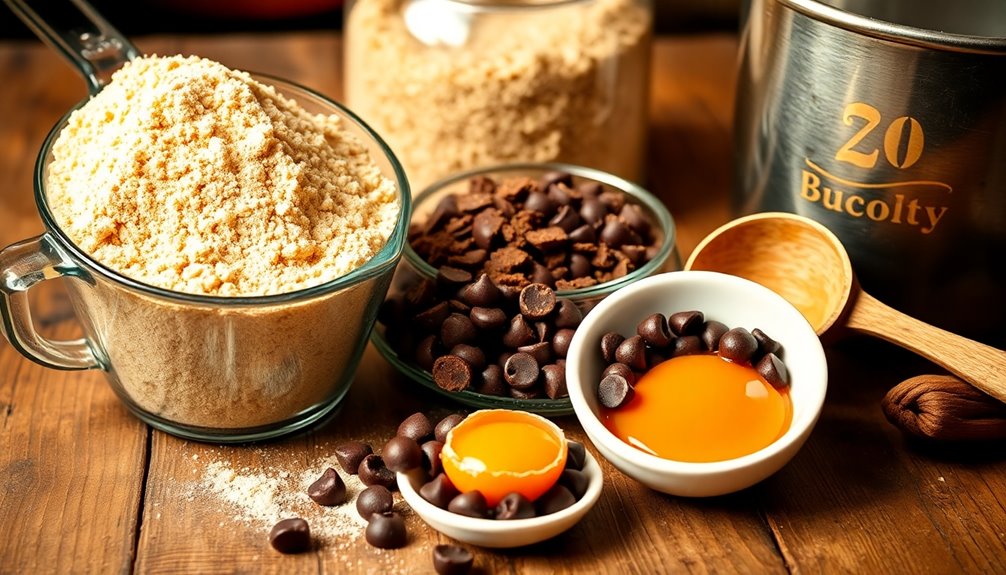
Ingredients:
- 1/2 cup melted butter
- 1/2 cup brown sugar
- 1/2 cup granulated sugar
- 1 large egg
- 1 egg yolk
- 1 teaspoon vanilla extract
- 1 1/4 cups all-purpose flour
- 1 teaspoon cornstarch
- 1/2 teaspoon baking soda
- 1/4 teaspoon salt
- 1 cup semi-sweet chocolate chips
- Flaky sea salt for sprinkling
In a mixing bowl, combine the melted butter with both sugars until the mixture is smooth. Mix in the egg, egg yolk, and vanilla extract until well incorporated.
In a separate bowl, whisk together flour, cornstarch, baking soda, and salt. Gradually add this dry mixture to the wet ingredients until a dough forms. Gently fold in the semi-sweet chocolate chips.
Spread the dough evenly into a greased cast iron skillet and sprinkle with flaky sea salt. Bake in a preheated oven at 350°F for 20-25 minutes until the edges are golden and the center remains gooey. Serve warm, ideally with a scoop of vanilla ice cream on top.
For the best results, be careful not to overmix the dough once you add the dry ingredients, as this can lead to a denser cookie. Keep an eye on the baking time, as ovens can vary; you want the edges to be golden and the center to still look slightly underbaked for that melt-in-your-mouth texture.
If you want to elevate the flavor even further, consider adding a tablespoon of espresso powder to the batter or using a mix of different chocolate chips for a more complex taste. Enjoy your delicious Chocolate Chip Skillet Cookie!
Cooking Steps
To whip up your chocolate chip skillet cookie, you'll start by preheating the oven to 350°F.
Next, mix your dry ingredients thoroughly before folding in those delicious chocolate chips.
Finally, scoop the dough into your greased skillet and bake until it's golden brown.
Step 1. Preheat the Oven to 350°F
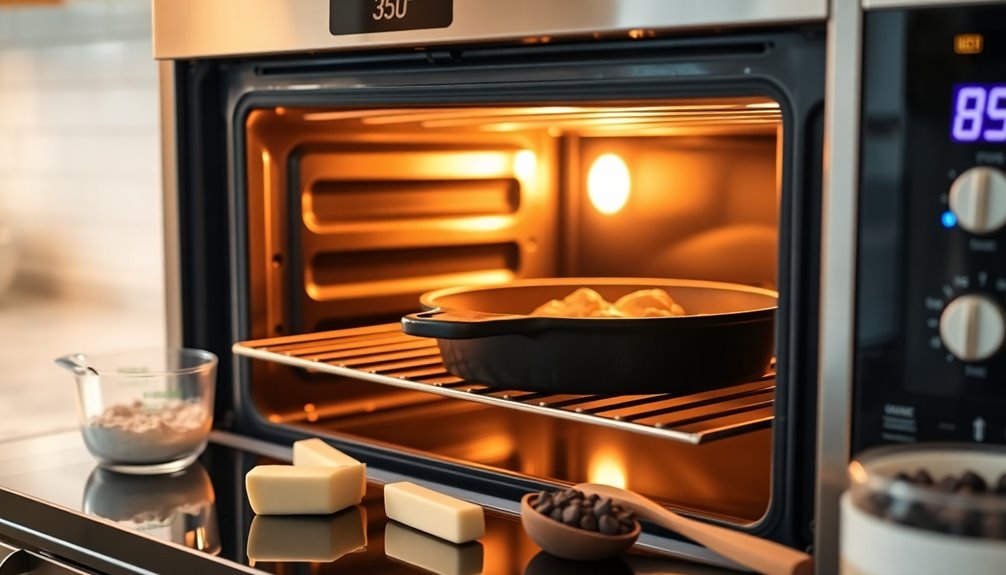
Before diving into making your delicious chocolate chip skillet cookie, it's important to preheat your oven to 350°F (175°C) to confirm an even bake and that perfect gooey texture.
Take at least 10-15 minutes to allow the oven to fully reach this temperature. If you're using a cast iron skillet, preheating it alongside the oven helps maintain consistent heat, resulting in crispy edges.
It's wise to use a reliable oven thermometer to confirm accuracy, as temperature variations can impact your baking results. Additionally, a well-baked cookie often has crispy edges that contrast beautifully with the gooey center, enhancing the overall texture.
When your cookie's edges turn golden brown and the center looks slightly underbaked, it's a sign to remove it.
Step 2. Mix Dry Ingredients Thoroughly

As you prepare to mix your dry ingredients, remember that thorough blending is key to achieving a perfectly textured chocolate chip skillet cookie.
Start by measuring out the flour, baking powder, and baking soda. It's best to sift these dry ingredients together; this breaks up clumps and aerates the flour, promoting an even distribution of leavening agents.
Then, whisk them in a separate bowl to guarantee everything's well combined. This step is essential for preventing overmixing later, which can lead to a tougher cookie.
For that sought-after chewy texture, consider adding a bit of cornstarch to your mix.
Step 3. Fold in Chocolate Chips

Gently fold in the chocolate chips to your dough, taking care to preserve their shape and texture.
It's best to use semi-sweet chocolate chips for that classic flavor, but you can mix in milk or dark chocolate for a richer taste.
Before you add them, make sure your batter has cooled slightly to prevent the chips from melting. Aim to evenly distribute the chocolate chips throughout the dough so each cookie gets that delicious, chewy, gooey experience.
Be cautious not to overmix after adding the chocolate chips, as this can lead to a tougher cookie texture instead of the soft, melt-in-your-mouth delight you're aiming for.
Enjoy every bite of your skillet cookie!
Step 4. Scoop Into a Skillet
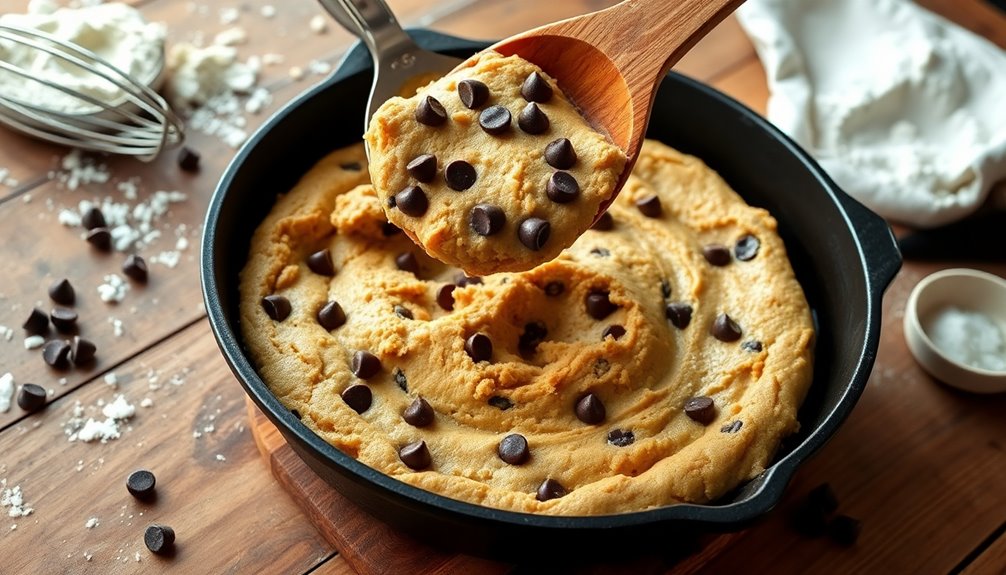
Now it's time to scoop the cookie dough into your skillet.
Begin by preheating your oven to 350 degrees F and greasing your 10-inch cast iron skillet for ideal baking.
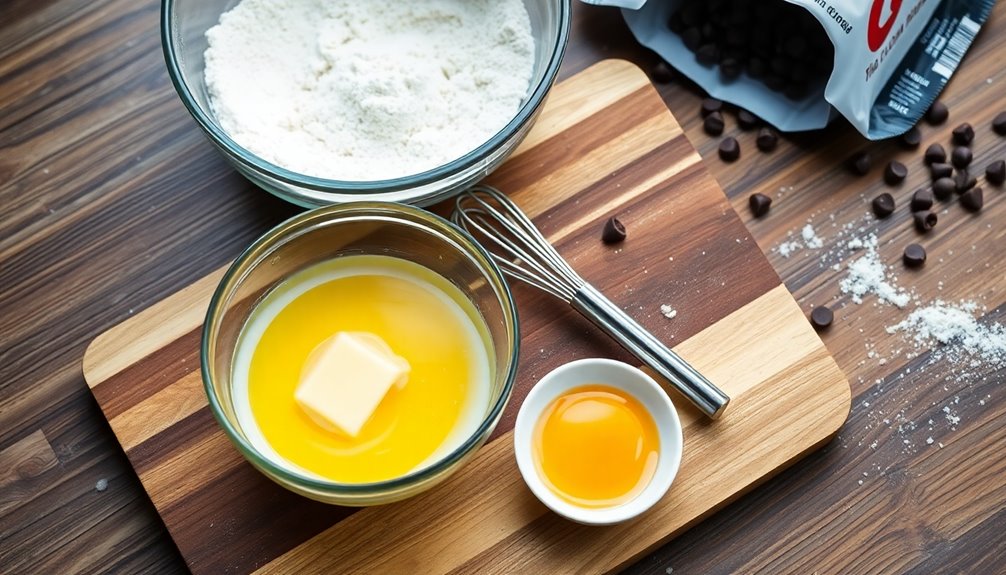
In a separate bowl, melt the unsalted butter, then mix it with packed brown sugar and granulated sugar until smooth.
Add one large egg and an egg yolk for that perfect chewiness.
In another bowl, combine all-purpose flour, baking powder, and salt, then gently fold this into the wet mixture.
Carefully scoop and spread the prepared dough evenly in the skillet, making sure it reaches the edges.
Top with a sprinkle of flaked sea salt.
Serve warm with a scoop of vanilla ice cream for a truly indulgent gooey chocolate chip skillet experience!
Step 5. Bake Until Golden Brown
With the cookie dough evenly spread in your greased skillet, it's time to bake.
Preheat your oven to 350°F and slide in the skillet cookie. Bake for 20 to 25 minutes, watching for the edges to turn golden brown while the center remains slightly underbaked for that perfect chewy texture.
When you remove it, look for a slight jiggle in the middle; this means it'll stay slightly gooey as it continues to cook from residual heat. Immediately sprinkle flaked sea salt on top to enhance the flavor, balancing the sweetness of the chocolate chips.
Let the skillet cookie cool for a few minutes before serving, allowing it to set while keeping that delicious gooey consistency. Enjoy!
Final Thoughts
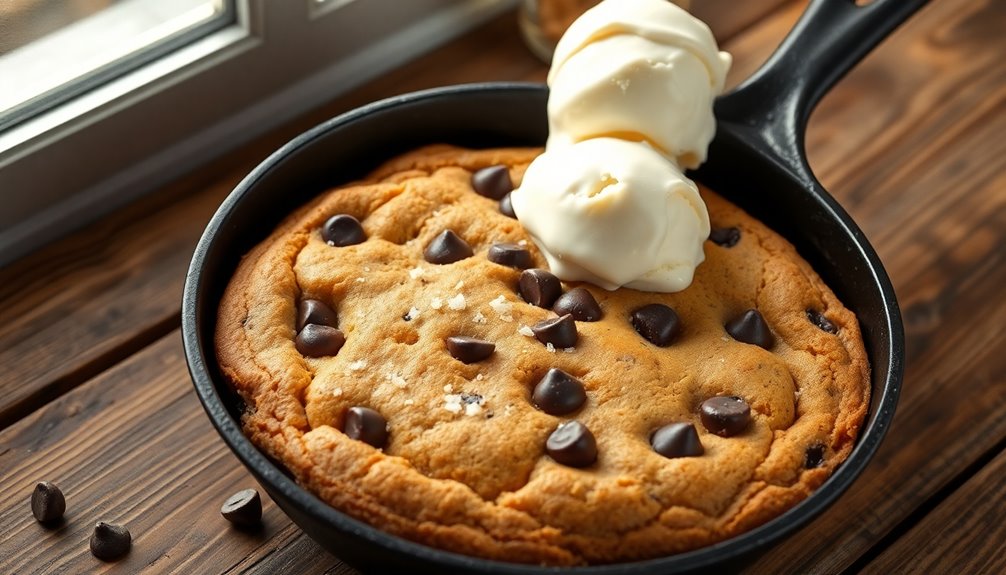
Although you could enjoy the Salted Chewy Gooey Chocolate Chip Skillet Cookie any time, it truly shines at gatherings and special occasions.
This easy dessert is best served warm, straight from the skillet, especially when topped with a scoop of vanilla ice cream. The combination of the gooey center and crispy edges creates a delightful texture that everyone loves.
With a baking time of just 20 to 25 minutes at 350°F, you'll have a rich flavor that's hard to resist. Plus, its customizable nature means you can experiment with different chocolate types or mix-ins like nuts or toffee bits.
Frequently Asked Questions
Can I Use Dark Chocolate Instead of Semi-Sweet Chocolate?
Why not shake things up and use dark chocolate instead of semi-sweet? You can absolutely replace it in your recipe!
Dark chocolate will give you a richer, more intense flavor. Just keep in mind that it's less sweet, so you might want to adjust the sugar a bit to balance it out.
Experimenting with different chocolates can lead to delicious surprises, so don't hesitate to try it! Enjoy your baking adventure!
How Do I Store Leftover Skillet Cookie?
To store your leftover skillet cookie, let it cool completely first.
Then, cover it tightly with plastic wrap or transfer it to an airtight container.
If you want to keep it fresh for longer, you can refrigerate it for up to a week.
When you're ready to enjoy it again, just pop it in the microwave for a few seconds to warm it up.
Enjoy that gooey goodness!
Can I Make This Cookie Gluten-Free?
Absolutely, you can make this cookie gluten-free!
While traditional flour offers structure, gluten-free alternatives like almond flour or oat flour provide unique textures and flavors.
It's a delightful contrast—sacrificing some familiar chewiness for a nutty richness.
Just verify you use a gluten-free blend that includes xanthan gum for binding.
You'll enjoy a delicious treat that caters to your dietary needs, proving that indulgence isn't limited to those who can eat gluten.
What Toppings Pair Well With This Cookie?
When you think about toppings for a cookie, there are plenty of delicious options! You could drizzle warm caramel or chocolate sauce over the top for extra sweetness.
Adding a scoop of vanilla ice cream creates a delightful contrast in temperatures. If you're feeling adventurous, sprinkle some sea salt to enhance the flavors.
Chopped nuts or a dusting of powdered sugar can also add texture and visual appeal. Enjoy experimenting with your favorite combinations!
How Long Does It Take to Cool Before Serving?
Cooling a freshly baked treat is like letting fine wine breathe; it enhances the experience.
After pulling it from the oven, let it cool for about 10 to 15 minutes before serving. This short wait allows the cookie to set properly and makes it easier to slice.
If you can resist the temptation, you'll enjoy a warm, gooey texture that's just right for digging in with family or friends.