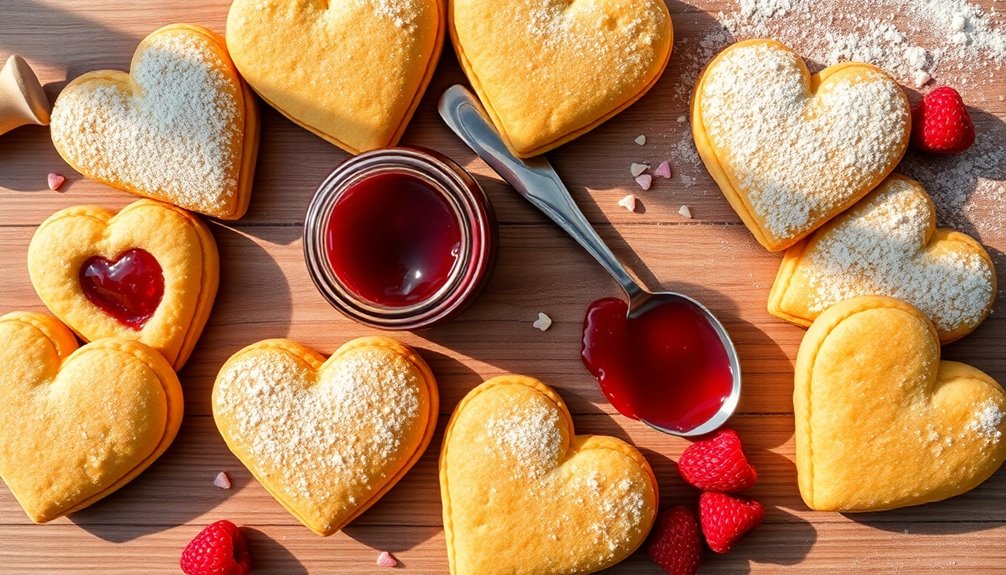

Valentine's biscuits are charming, heart-shaped treats that symbolize love and affection, perfect for Valentine's Day. Originating from the Victorian era, they became popular as handmade gifts. With simple ingredients like butter, sugar, and raspberry jam, you can easily whip up these delightful biscuits. Plus, decorating them can be a fun activity for everyone involved. If you're curious about the history, recipe, and cooking steps, there's much more to discover!
History
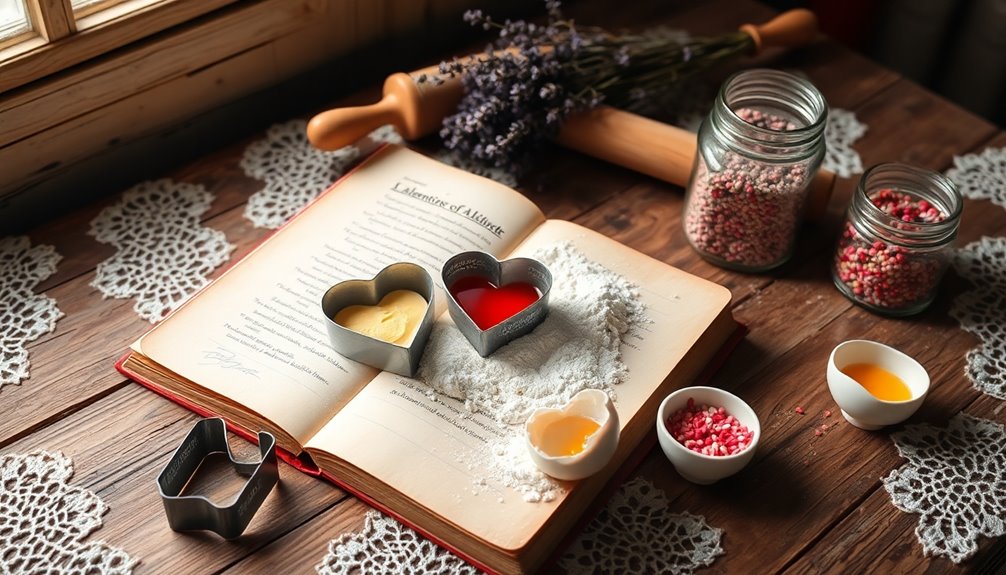
Although you might think of flowers and chocolates as the quintessential Valentine's gifts, the tradition of giving biscuits has a rich history dating back to the Victorian era.
During this time, handmade gifts gained popularity as a heartfelt way to express affection. Heart-shaped biscuits emerged as a romantic gesture, symbolizing love and devotion on Valentine's Day.
In 19th century England, exchanging biscuits and sweets became a widespread custom, aligning with the rise of printed Valentine's cards. British tea culture embraced these delightful treats, with biscuits like the renowned Empire biscuits becoming staples.
Over the years, the popularity of flavored and decorative biscuits has soared, incorporating ingredients like chocolate and fruit, making them an even more special gift for your loved one.
As an affiliate, we earn on qualifying purchases.
Recipe

Ingredients:
- 200 g unsalted butter
- 95 g golden caster sugar
- 200 g plain flour
- 95 g rice flour
- Pinch of salt
- Raspberry jam (or alternative fillings like Nutella or lemon curd)
Cooking Instructions:
Begin by creaming the unsalted butter and golden caster sugar together until light and fluffy.
Gradually mix in the plain flour, rice flour, and a pinch of salt until a smooth dough forms.
Roll the dough out on a lightly floured surface to about 6mm thick. Using a 3cm heart-shaped cutter, cut out the biscuits and place them on a baking sheet.
Chill the cut-out shapes in the refrigerator for at least 30 minutes.
Preheat your oven to 180C/350F (fan) and bake the biscuits for 8-10 minutes, or until the edges are slightly golden.
Allow the biscuits to cool for 5 minutes on the baking sheet before transferring them to a wire rack.
Once cooled, fill each biscuit with about 1/4 tsp of raspberry jam or your chosen filling and sandwich them together.
Extra Tips:
For the best texture, be sure to keep the dough chilled before baking, as this helps maintain its shape.
When filling the biscuits, be generous but not excessive to avoid overflow.
If you want to get creative, consider decorating the biscuits with icing or sprinkles for an added festive touch.
Store any leftovers in an airtight container at room temperature, though they're best enjoyed fresh within 24-48 hours.
Cooking Steps

To get started on your Valentine's biscuits, you'll need to preheat your oven to 350°F.
Next, mix your dry ingredients together and gradually add in the wet ones until you've formed a smooth dough.
Don't forget to chill the dough for 30 minutes before shaping and baking those delightful cookies!
Step 1. Preheat Oven to 350°F
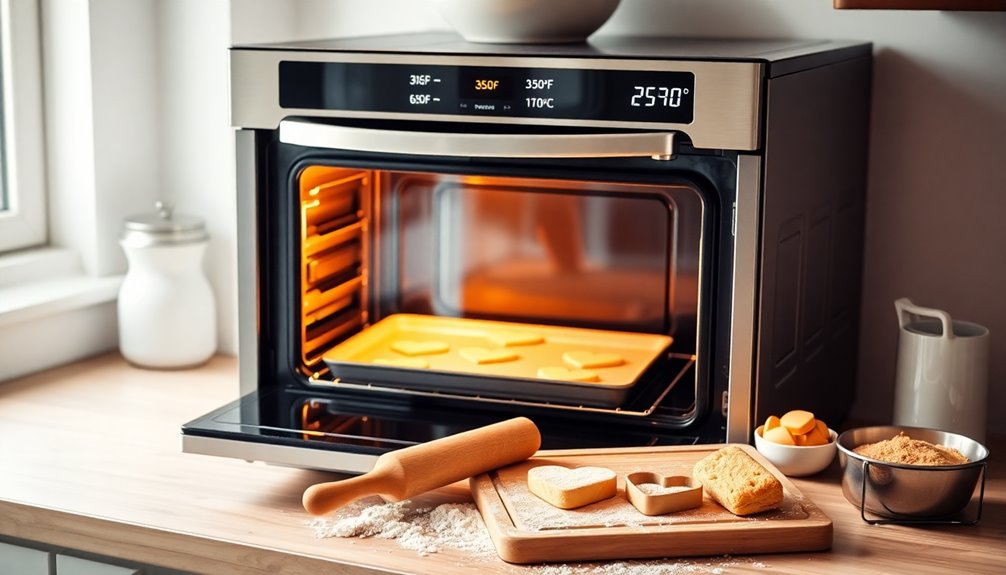
Preheating your oven to 350°F (180°C) is essential for baking perfect Valentine's biscuits. This temperature guarantees even baking, so your biscuits come out just right.
Use an oven thermometer to confirm the temperature, as an incorrect setting can ruin the texture. Before placing your biscuits in the oven, allow it to reach the desired heat; this helps prevent uneven cooking.
Don't forget to prepare your baking trays—line them with parchment paper to avoid sticking and make removal a breeze.
Once they're in the oven, keep an eye on them. Bake for 8-10 minutes, watching for the edges to turn slightly golden. This way, you'll avoid over-baking and achieve delightful biscuits!
Step 2. Mix Dry Ingredients Together

Start by measuring out your dry ingredients, which typically include 200 g of plain flour, 95 g of rice flour, a pinch of salt, and any optional additions like cocoa powder or ground nuts for added flavor.
Sift the plain flour and rice flour together to guarantee an even texture and remove any lumps. This step is essential for a smooth dough.
Next, mix in the pinch of salt and, if desired, incorporate baking powder for a lighter biscuit recipe.
If you're feeling adventurous, add cocoa powder or ground nuts to enhance the flavor.
Combine all these dry ingredients thoroughly in a bowl to create a uniform mixture before moving on to the next step in your biscuit-making journey!
Step 3. Add Wet Ingredients Gradually

As you prepare to mix in the wet ingredients, it's crucial to do so gradually for the best results.
Start by creaming the butter and sugar until light and fluffy; this helps create a smooth dough. Next, add the eggs one at a time. This method allows for better emulsification, ensuring a uniform texture throughout your mixture.
Incorporate any extracts or flavorings slowly, controlling the intensity of your biscuits' flavor. Remember, mixing wet ingredients too quickly can lead to overworking the dough, resulting in tougher biscuits.
Use a gentle folding motion to achieve proper incorporation without compromising the dough's integrity. Once you've combined everything, you're ready to use your heart-shaped cutter for a delightful presentation!
Step 4. Chill Dough for 30 Minutes

Chilling the dough for 30 minutes is essential for achieving perfectly shaped biscuits. When you chill dough for at least this time, it helps to firm up the fat, ensuring your biscuits hold their shape while baking.
To prevent the dough from drying out, cover your trays with cling film during chilling. Keep an eye on the texture; you want a dough that's easy to roll out on a lightly floured surface.
Avoid overworking it before chilling, as that can lead to tough cookies. If you find the dough too sticky, you can keep re-rolling it with flour.
This step not only enhances flavor but also makes your biscuits perfect for Valentine's Day!
Step 5. Shape and Bake Cookies
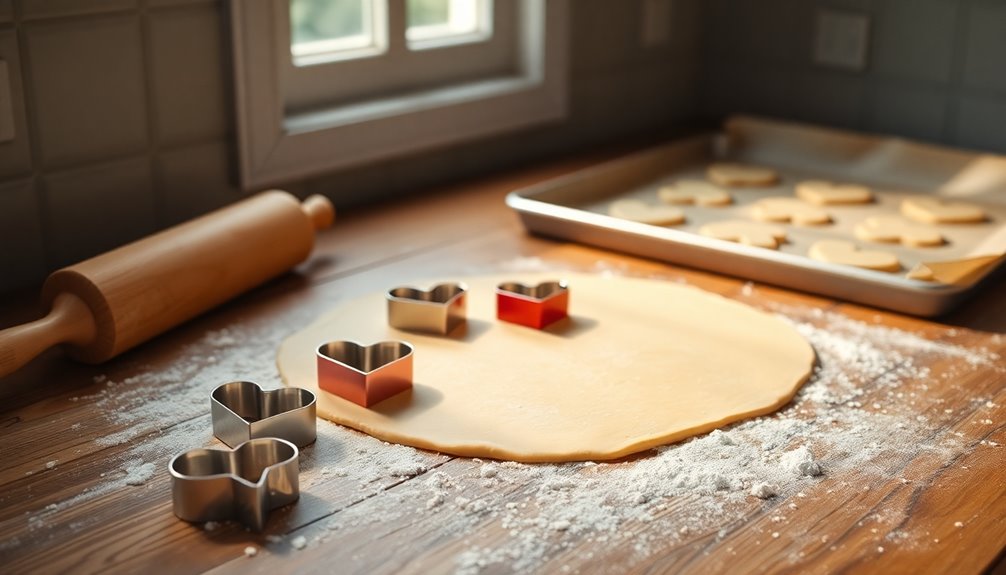
Once the dough has chilled and is firm, it's time to shape your cookies.
Roll out the dough to about 6mm thick and grab a heart-shaped cutter, around 3cm in size, to cut out your cookie shapes.
Place the cut-out cookies on covered trays and chill them in the refrigerator for at least 30 minutes. This step helps maintain their shape while baking.
Preheat your oven to 180C/350F, then bake the cookies for 8-10 minutes until the edges are slightly golden.
Once they're done, let them cool for about 5 minutes before using a palette knife to transfer them to a wire rack.
Enjoy your delightful Valentine's cookies, perfect for sharing with loved ones!
Final Thoughts

Creating Valentine's biscuits is a joyful experience that brings people together in the kitchen.
These heart-shaped delights make a perfect Valentine's Day treat, especially when you fill them with raspberry jam or flavored buttercream. You can easily sandwich them together for a delightful surprise!
Adding a splash of almond extract elevates their flavor, while icing sugar can transform them into beautiful creations. Moreover, these biscuits are fun to decorate, making them a great activity for both kids and adults.
Remember, they keep pretty well for a short time if stored in an airtight container, but for the best taste and texture, enjoy them within 24-48 hours.
Decorating with fondant or icing hearts not only enhances their visual appeal but also makes it a fun activity for everyone involved.
Share them as gifts, and spread the love this Valentine's Day!
Frequently Asked Questions
Can I Use Gluten-Free Flour for Valentine's Biscuits?
Yes, you can use gluten-free flour for your baking!
Just keep in mind that gluten-free flour can behave differently than regular flour. It often needs a binder, like xanthan gum or flaxseed meal, to help with texture.
Experiment with different blends to find what works best for your recipe.
Make sure to follow any specific instructions for gluten-free baking, and you'll create delicious treats that everyone can enjoy!
How Long Do Valentine's Biscuits Stay Fresh?
Imagine a sweet box of treats, reminiscent of a love letter, just waiting to be savored.
Generally, biscuits stay fresh for about a week if you store them in an airtight container at room temperature.
If you want them to last longer, consider freezing them—this way, they can stay delightful for up to three months.
Just remember to let them thaw before you indulge in their sugary goodness!
What Are Some Creative Decorating Ideas for These Biscuits?
When you're decorating biscuits, think outside the box! You can use royal icing to create intricate designs or pipe fun messages.
Edible glitter adds a magical touch, while colorful sprinkles give a playful vibe.
For a personal touch, try using fruit slices or candies to create faces or shapes.
Don't forget to experiment with different colors and patterns; the possibilities are endless!
Get creative, and let your imagination guide you!
Can I Freeze Valentine's Biscuits for Later Use?
Did you know that around 40% of baked goods are often frozen for later enjoyment?
Yes, you can absolutely freeze biscuits for later use! Just make sure they're completely cooled before placing them in an airtight container or freezer bag.
They'll stay fresh for about three months. When you're ready to indulge, simply thaw them at room temperature or pop them in the oven for a few minutes.
You'll love the freshness!
Are There Any Vegan Alternatives for the Ingredients?
Yes, there are plenty of vegan alternatives for common baking ingredients!
You can use unsweetened applesauce or mashed bananas instead of eggs. For butter, try coconut oil or vegan margarine.
If a recipe calls for milk, almond, soy, or oat milk works great. Also, consider using flaxseed meal mixed with water as an egg substitute.
With these swaps, you can easily create delicious vegan treats without sacrificing taste!