
To create a DIY Valentine’s Day photo frame gift, choose a meaningful photo that captures a special moment and pick a sturdy base like wood or cardboard. Gather supplies like paint, embellishments, ribbons, and personal touches such as handwritten notes or charms. Design the frame with a romantic theme, add decorative elements, and finish with a sealant for protection. Wrap it beautifully, and if you keep going, you’ll discover detailed steps to make your gift truly unique.
Key Takeaways
- Select a meaningful, high-quality photo capturing a special moment to personalize your Valentine’s Day frame.
- Choose a theme and color scheme that reflect your recipient’s style and incorporate romantic or sentimental embellishments.
- Gather craft supplies like sturdy base material, decorative items, and tools such as glue, scissors, and paint for customization.
- Design and decorate the frame with personal touches, motifs, and textures that evoke emotion and match your theme.
- Finish with a sealant, secure in a gift box, and add a heartfelt note for a memorable, handcrafted Valentine’s Day gift.
Selecting the Perfect Photo and Frame Base
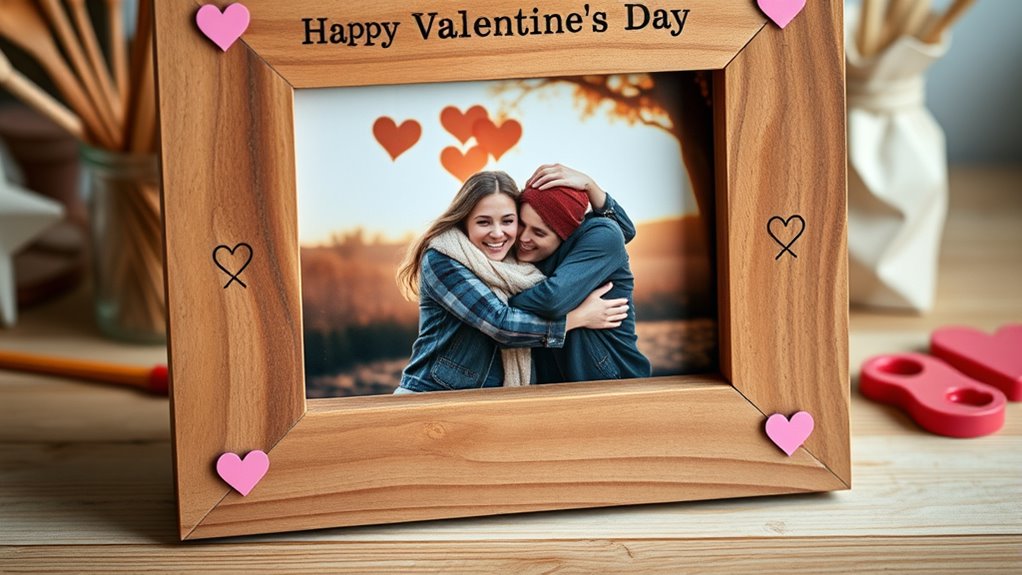
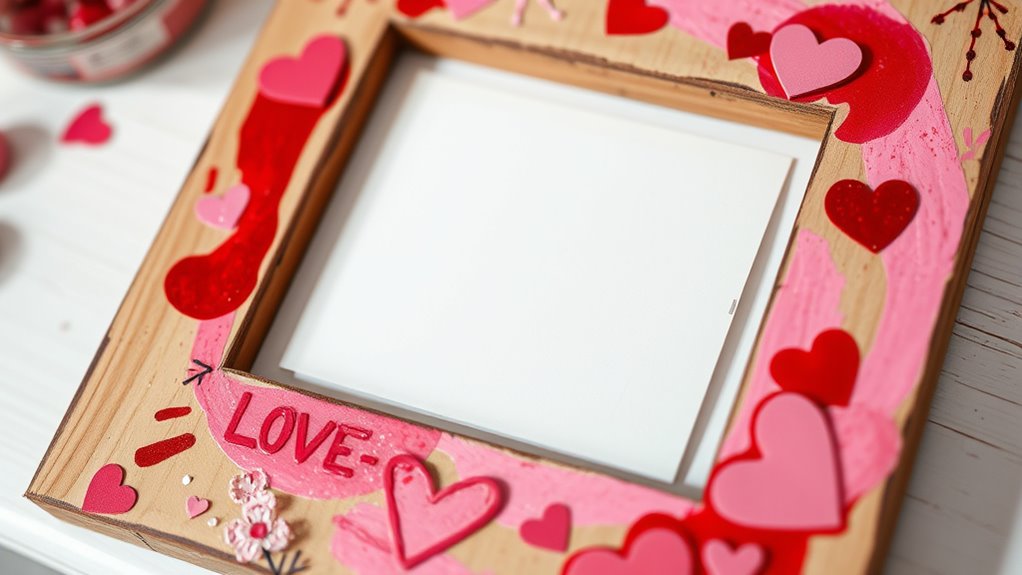
Choosing the right photo and frame base sets the foundation for a meaningful Valentine’s Day gift. You want a picture that captures a special moment—perhaps a candid smile, a shared laugh, or a heartfelt embrace—that truly reflects your relationship. Pick a high-quality, clear photo that evokes emotion. When selecting the frame base, consider the recipient’s style and the decor of their space. Do they prefer classic, rustic, or modern designs? The frame should complement the photo and fit comfortably into their environment. Think about size and color; a larger frame makes a bold statement, while a smaller one feels intimate. By choosing thoughtfully, you create a heartfelt keepsake that’s both personal and visually appealing. Incorporating rustic decor elements into the frame can enhance the overall farmhouse aesthetic and make the gift even more special. Understanding best anime movies can inspire you to incorporate a favorite theme or character into your design for an extra personal touch.
Gathering Essential Crafting Supplies
Before you start crafting your Valentine’s Day photo frame, gather all the essential supplies you’ll need. You’ll want a sturdy base such as a wooden or cardboard frame. Pick up decorative items like colorful paper, ribbons, stickers, or embellishments to personalize your design. Have scissors, glue, and double-sided tape ready for assembly. Consider including markers or paint for adding details or messages. If you plan to add extra decorations, gather items like glitter, rhinestones, or fabric scraps. Don’t forget a clean cloth or paper towels for cleanup. Make sure you have all your supplies organized beforehand so you can focus on your creativity without interruptions. Having everything on hand ensures a smooth, enjoyable crafting experience. Additionally, choosing versatile crafting supplies can help you easily customize your project to match your loved one’s style and preferences. To enhance your project’s durability and visual appeal, consider incorporating quality adhesives that provide a strong bond and clean finish. Planning your supplies ahead of time also helps you avoid last-minute trips to the store, making the process more enjoyable. Remember that using appropriate materials like sturdy backing or waterproof decorations can make your gift last longer and look more professional. Plus, incorporating personal touches inspired by themes like music or love symbols can make your gift even more meaningful.
Designing Your Custom Decoration Theme
Start by choosing a color scheme that reflects your partner’s favorites or the mood you want to set. Then, consider embellishment ideas like ribbons, stickers, or washi tape to make your frame stand out. You could also incorporate dog breed names or other personalized elements to enhance its uniqueness. Additionally, adding small electric bike accessories or motifs can give your gift a modern touch. Finally, add personal touches such as handwritten messages or meaningful charms to make it truly unique. Incorporate eye patch benefits to help ensure your gift remains safe and secure.
Color Scheme Selection
Selecting the right color scheme sets the tone for your Valentine’s Day photo frame gift. Consider colors that reflect your recipient’s personality or your relationship’s mood. Traditional reds and pinks evoke love and warmth, but don’t hesitate to incorporate metallics like gold or silver for a touch of elegance. Soft pastels create a gentle, romantic vibe, while bold contrasts add energy and fun. Think about your overall theme—romantic, playful, vintage—and choose colors that complement it. Keep your palette simple; two or three main colors work best for a cohesive look. You can also add accents with smaller details in contrasting shades. Ultimately, your color choices should make your gift feel personal and heartfelt, enhancing the beauty of the photo frame. Understanding core personality traits can also help you select a color scheme that resonates more deeply with your recipient. Additionally, considering cultural significance of certain colors can add meaningful layers to your design. Incorporating color psychology can further influence the emotional impact of your gift. Paying attention to color symbolism can help you select hues that align with your message or sentiment. Exploring the science of colors can provide further insight into how different hues evoke specific feelings and responses, making your gift even more meaningful.
Embellishment Ideas
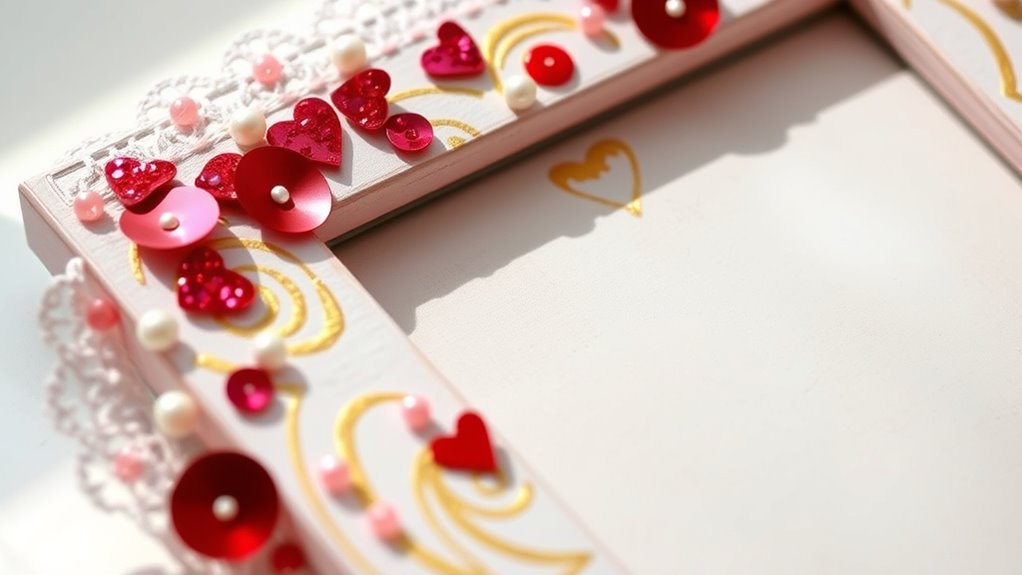
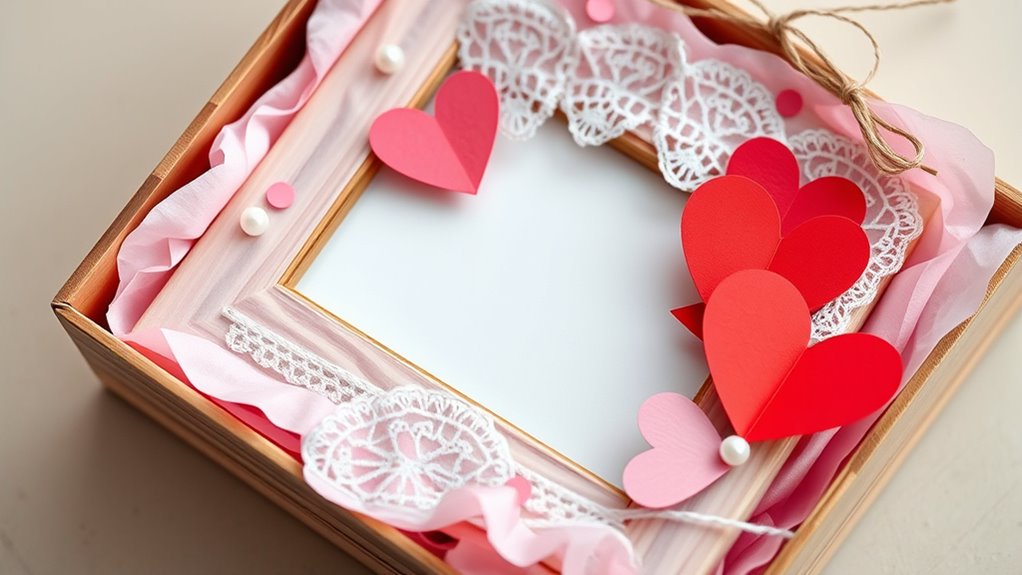
To create a cohesive and eye-catching design, consider designing a custom decoration theme that reflects your recipient’s personality or the overall mood you want to convey. Think about elements like patterns, textures, or motifs that resonate with their interests or the occasion. Use embellishments such as ribbons, stickers, or small charms to add dimension and personality. For example, if they love nature, incorporate leaves or floral accents. To help you visualize, here’s a quick idea guide:
| Theme Idea | Embellishment Suggestions |
|---|---|
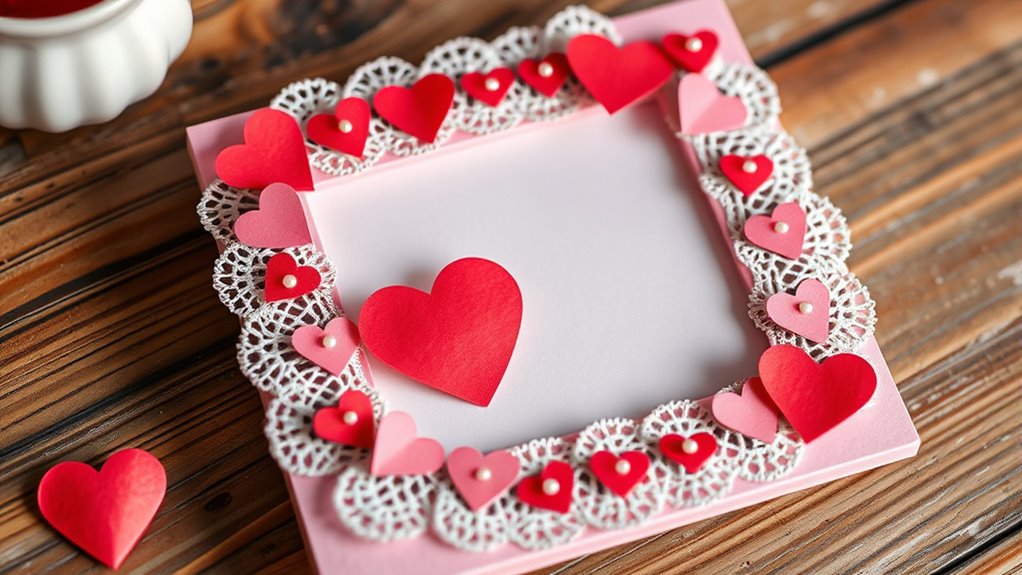
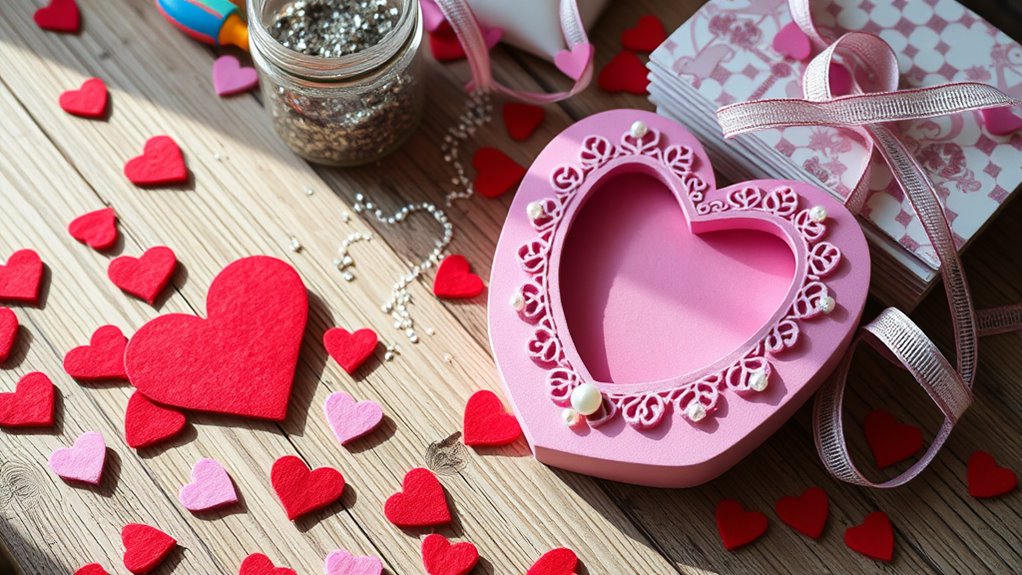
| Romantic | Lace, hearts, pearls |
| Playful | Bright stickers, confetti |
| Elegant | Metallic accents, bows |
| Whimsical | Fairy lights, stars |
| Personalized | Initials, custom charms |
Choose embellishments that enhance your theme and make your gift truly unique. Incorporating visual appeal can further elevate your design and make your Valentine’s Day photo frame a memorable keepsake.
Personal Touch Elements
Creating a personal touch for your Valentine’s Day photo frame begins with designing a decoration theme that truly reflects the recipient’s personality and your relationship. Think about their favorite colors, hobbies, or shared memories to inspire your design. For example, if they love nature, incorporate pressed flowers or leaf patterns. If you share inside jokes or special dates, include those as meaningful elements. Additionally, adding personalization options can make your gift even more special by tailoring it precisely to their tastes and your shared experiences. Personal touches can also be added through handwritten notes, small charms, or custom embellishments that symbolize your bond. Keep the theme cohesive by choosing complementary colors and textures. The goal is to make the frame uniquely theirs, turning a simple gift into a heartfelt keepsake that captures your relationship’s essence. Incorporating customization options can further enhance the personal touch, making your gift truly one-of-a-kind. To ensure your design is both secure and durable, consider using appropriate adhesives that won’t damage photos or decorations. Additionally, selecting durable materials for the frame can help preserve your artwork over time. Using high-quality craft supplies can also contribute to the overall durability and aesthetic appeal of your personalized gift.
Painting and Decorating the Frame
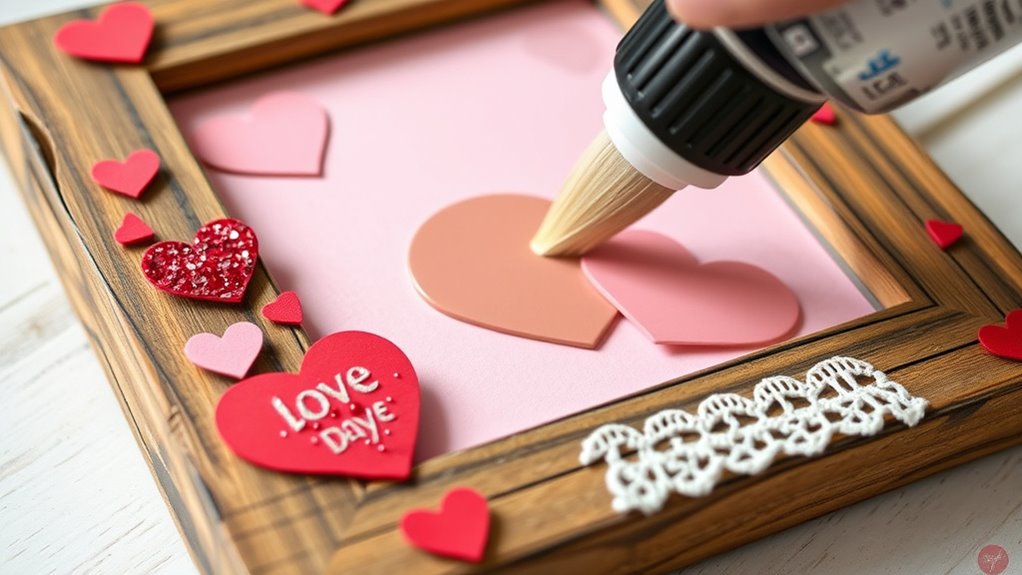
Once you’ve assembled the basic frame, it’s time to bring it to life with paint and decorations. Start by choosing colors that match your theme or your loved one’s favorite shades. Use brushes or sponges to apply paint smoothly and evenly, adding layers if needed. To make your frame stand out, consider these tips:
- Add texture with different brush strokes or stencils for unique patterns.
- Use metallic or glitter paints to create a shimmering effect.
- Incorporate decorative elements like washi tape, stickers, or decoupage for extra flair.
- Consider application timing for pimple patches to ensure your skin is prepared if you plan to add any skincare elements or accessories to your design, making your gift both beautiful and thoughtful.
Adding Personal Touches With Embellishments
Adding embellishments is a great way to make your photo frame truly unique. You can try creative ideas like using washi tape, stickers, or tiny charms to enhance its look. Experimenting with decorative techniques will help your gift stand out and feel more personal.
Creative Embellishment Ideas
To give your DIY Valentine’s Day photo frame a truly personal touch, consider using creative embellishments that reflect your loved one’s personality and your relationship. These touches make your gift unique and memorable. You can incorporate various elements, such as:
- Miniature charms that symbolize shared interests or inside jokes
- Decorative stickers or washi tape in their favorite colors or patterns
- Handwritten messages or quotes that express your feelings or memories
Unique Decorative Techniques
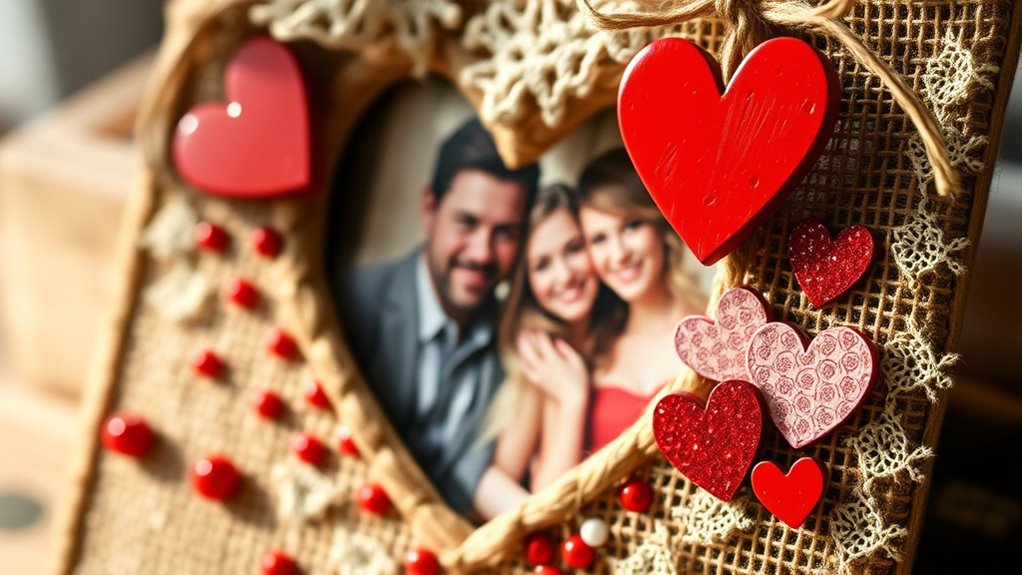
By incorporating unique decorative techniques, you can elevate your Valentine’s Day photo frame from simple to extraordinary. Think beyond basic embellishments—try adding textured elements like fabric, lace, or burlap to create a rich, tactile feel. Use metallic paints or foil accents to add a touch of glam, or incorporate small charms and beads for a personalized sparkle. You might also experiment with decoupage techniques, layering patterned paper or napkins for visual interest. For a more artistic touch, incorporate hand-drawn designs or stenciled patterns that reflect your loved one’s personality. These personalized touches make your gift stand out, showing extra effort and thoughtfulness. Remember, combining different textures and materials can create a truly unique and memorable Valentine’s Day keepsake.
Attaching the Photo Securely
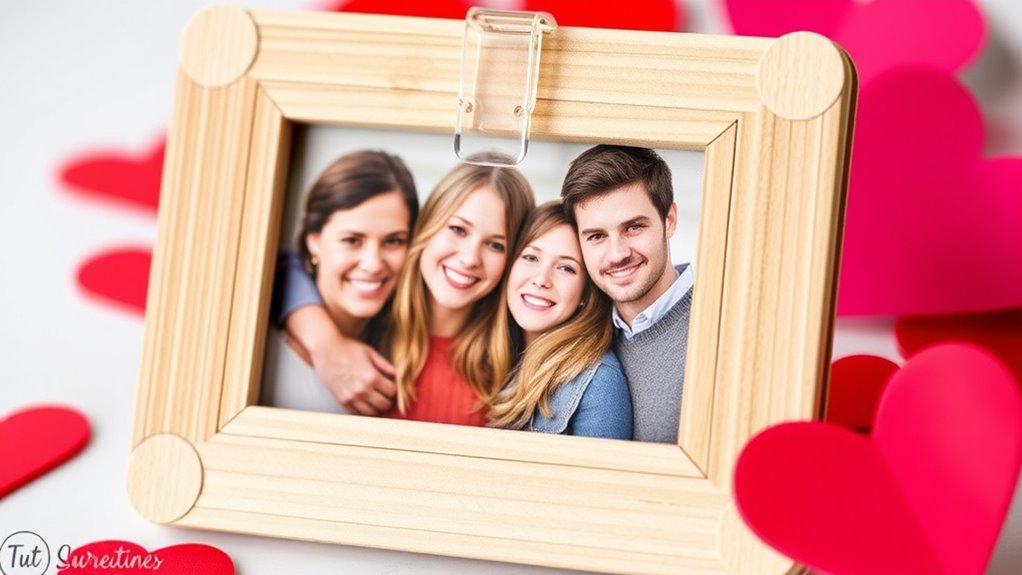
Ever wondered how to keep your photo safely in place without it slipping or falling? To guarantee your picture stays secure, follow these tips:
- Use double-sided tape or adhesive putty, which holds the photo firmly without causing damage.
- Apply the adhesive along the edges of the photo, avoiding the center to prevent warping or bubbling.
- Press the photo gently but firmly into the frame, smoothing out any air bubbles or wrinkles immediately.
Make sure to choose a non-permanent adhesive if you want to reuse or change photos later. Avoid using too much glue or tape, as it can damage the photo or make removal difficult. Proper attachment guarantees your cherished picture stays beautifully in place.
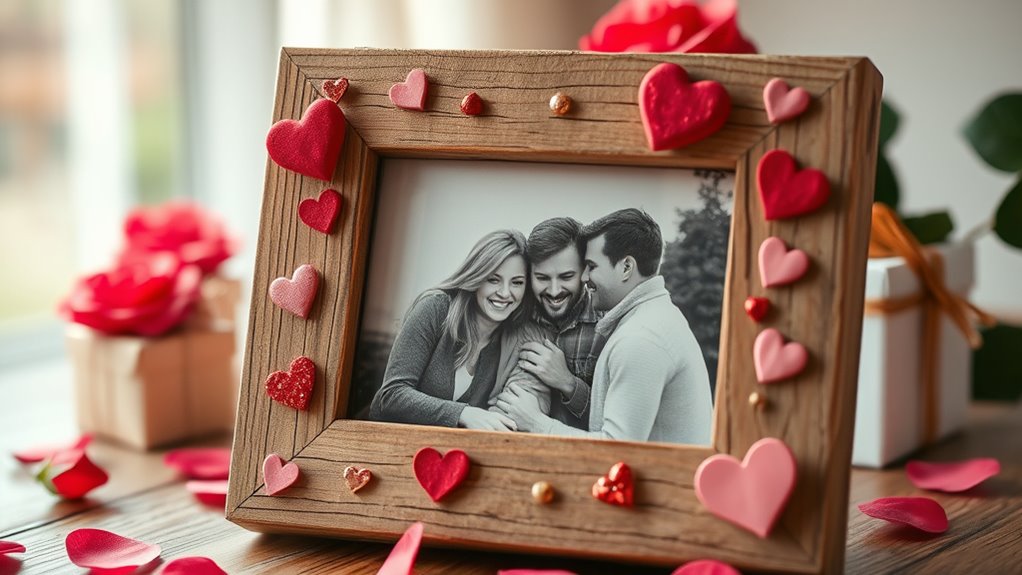
Incorporating Romantic or Themed Elements

Adding romantic or themed elements to your photo frame instantly personalizes your gift and enhances its visual appeal. These small details make your creation unique and meaningful. Consider attaching small charms, love notes, or themed stickers that match your Valentine’s Day vibe. You can also incorporate colors like red, pink, or gold to evoke romance. To help you choose, here’s a quick guide:
| Element Type | Example Ideas |
|---|---|
| Romantic Symbols | Hearts, roses, Cupid figurines |
| Personal Touches | Handwritten notes, initials |
| Decorative Accents | Glitter, lace, ribbon |
Mix and match these elements to reflect your relationship’s personality, making your gift truly special.
Finishing Touches and Sealant Application
Once you’ve decorated your frame, it’s time to apply the sealant for a polished finish. Make sure you spread it evenly to avoid drips or uneven spots. You can also add decorative accents to enhance your design and make your gift truly special.
Applying Sealant Evenly
To achieve a professional finish, it’s important to apply the sealant evenly across the entire surface of your photo frame. Start by using a clean brush or applicator and work in smooth, continuous strokes. This helps prevent streaks or uneven patches. Keep a steady hand and avoid overloading the brush with sealant, which can cause drips or pooling.
To guarantee even coverage, remember these tips:
- Work in small sections to maintain control and consistency.
- Apply thin, even coats rather than thick layers.
- Use a light touch to avoid disturbing the underlying paint or decorations.
Adding Decorative Accents
Have you considered how decorative accents can elevate your Valentine’s Day photo frame from simple to stunning? Adding small details like beads, rhinestones, or tiny charms can create a personalized touch that makes your gift unique. Use a hot glue gun to carefully attach these accents along the frame’s edges or in a pattern that complements your theme. Be mindful not to overcrowd the design—less is often more. Feel free to incorporate elements that hold sentimental value, like mini hearts or initials. Once you’ve added your accents, give everything a final check to ensure all pieces are securely attached. For a polished look, consider applying a clear sealant over the accents to protect them and add a subtle shine.
Packaging Your Handmade Gift
Packaging your handmade Valentine’s Day photo frame thoughtfully enhances its charm and shows how much you care. A well-presented gift makes a lasting impression and protects your creation. To do this effectively:
- Choose a sturdy gift box that fits the frame snugly, preventing movement during transit.
- Wrap the frame in tissue paper or soft fabric to cushion it and add a touch of elegance.
- Finish with a decorative ribbon or bow, and add a heartfelt note or tag to personalize the package.
Keep the packaging simple yet attractive, so the focus remains on your beautiful handmade gift. Good packaging not only protects your work but also elevates the entire gifting experience, making your loved one feel truly special.
Tips for Presenting Your DIY Frame to Your Loved One
When presenting your DIY photo frame, focus on creating a warm and intimate moment that highlights your effort and thoughtfulness. Choose a cozy setting where you can share the gift without distractions. Before giving it, take a moment to explain what inspired you to make it and why it’s special. Keep your tone genuine and heartfelt to deepen the emotional impact. Hand the frame with both hands or gently place it in their hands to show care. If possible, include a meaningful story behind the photo or design. Remember, your sincerity matters more than perfection. By presenting it with genuine affection and a smile, you’ll make the moment memorable and show your loved one how much they mean to you.
Frequently Asked Questions
Can I Use a Digital Photo for My DIY Frame?
You can definitely use a digital photo for your DIY frame. Just print out the picture in the size that fits your frame, or use a clear, high-quality print to guarantee it looks great. Make sure to trim or resize the photo if needed before placing it inside your frame. Using digital photos is a convenient way to personalize your gift, and it allows you to choose the perfect shot for your special occasion.
What if I Don’T Have Painting Experience?
Like a blank canvas waiting for your touch, not having painting experience might seem intimidating. But you don’t need to be an artist to create something meaningful. Use simple techniques like sponging or stenciling, and don’t worry about perfection. Focus on your personal touches—like a favorite quote or a heartfelt note. Your effort and love will make the frame special, even if you’re new to painting.
How Long Does the Entire DIY Process Take?
The entire DIY process typically takes about 1 to 2 hours, depending on your skill level and the complexity of the design. You’ll start by gathering materials, then move on to assembling and decorating the frame. If you’re a beginner, it might take a bit longer, but don’t rush—enjoy the creative process. With patience, you’ll finish a lovely, personalized gift that shows your love and effort.
Are There Eco-Friendly Materials Recommended for This Project?
When choosing eco-friendly materials, you should look for options that minimize environmental impact. For your project, consider using recycled cardboard or reclaimed wood for the frame, and opt for biodegradable or non-toxic paints and adhesives. You might also use natural elements like pressed flowers or leaves to decorate. These choices help reduce waste and promote sustainability, making your gift both beautiful and environmentally responsible.
Can I Customize the Frame for Different Holidays or Occasions?
Imagine your photo frame as a blank canvas waiting to tell a story for every special day. Yes, you can easily customize it for different holidays or occasions by painting, adding themed embellishments, or using removable decorations. Let your creativity run wild—think of it as dressing up your memories for every celebration. With a little imagination, your frame becomes a versatile keepsake, capturing joy all year round.
Conclusion
With your heartfelt touch, your DIY Valentine’s Day photo frame will shine brighter than any store-bought gift. Think of it as a canvas of your love, crafted with care and creativity. When you gift it, you’re giving more than just a frame—you’re offering a piece of your heart wrapped in a personal masterpiece. So, embrace the process and let your love be the guiding brushstroke in this special creation.